About Me
Hi! I'm Aimee. I like to write and I like to design/build/recreate and so I decided to design and then write about it.
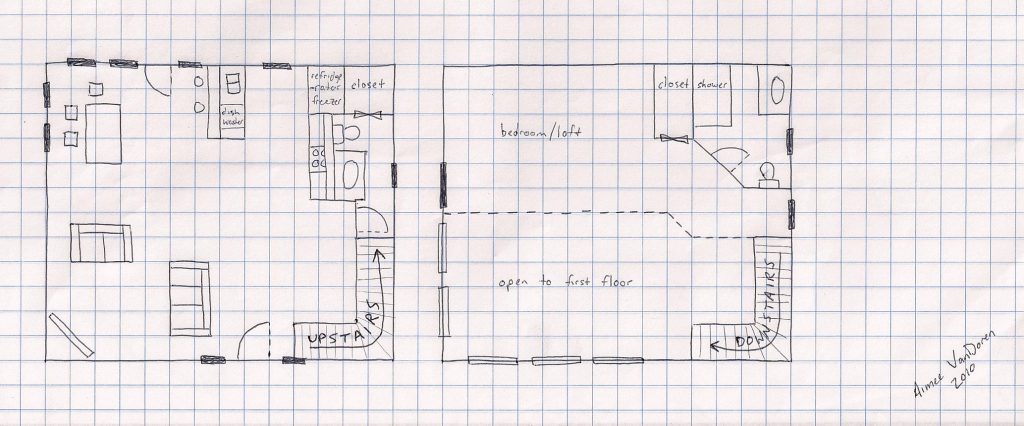
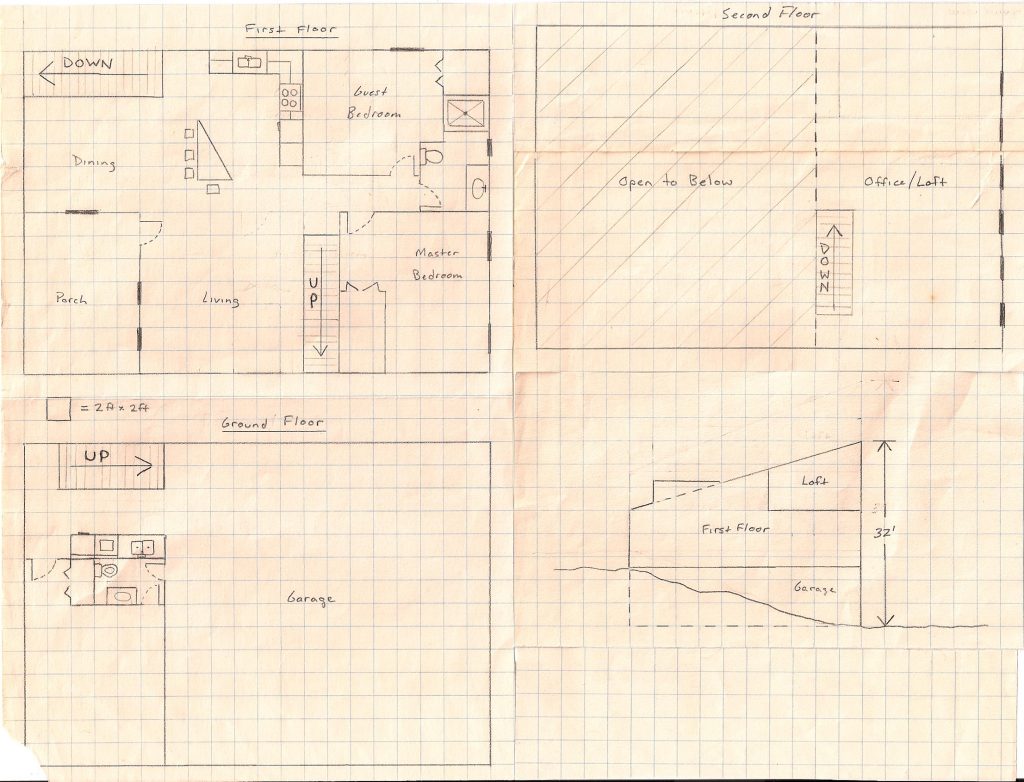
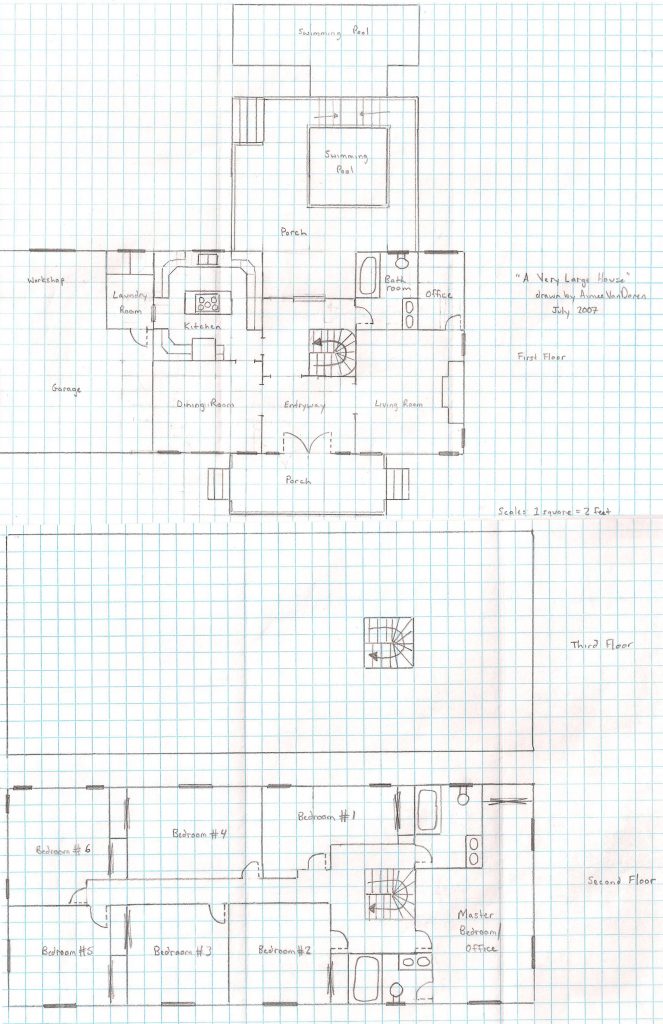
I've always been fascinated with designing homes and drawing floor plans. I drew dozens, if not hundreds, of house plans on graph paper as a kid, ranging from tiny houses to massive mansions.


There are lots of interesting facts about me which perhaps I will disclose at a later time. For now, let's start with the very basic basics.

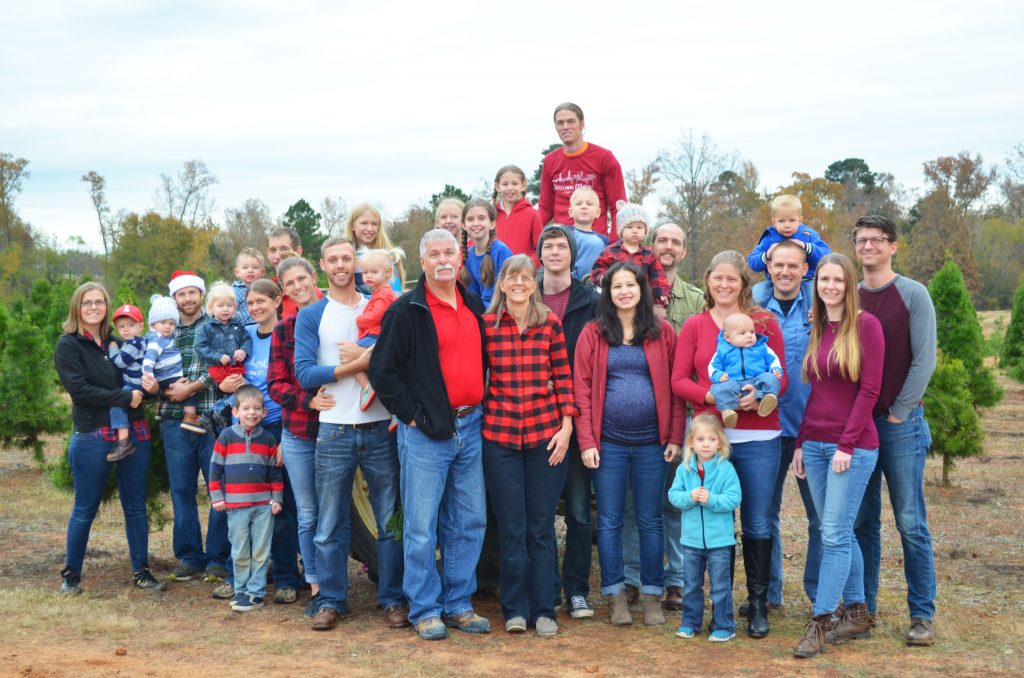
I have 7 siblings and my kids have 16 cousins on my side. I grew up in three different
countries and I had moved 21 times before my 21st birthday. I'm bilingual but finding
people who speak my second language is a bit of a challenge. I've been married for
seven years and have two boys who are 16 months apart and super cute, and a baby girl
who is also super cute!


Check back every week or so for more content! I have a lot of great project ideas in my head so hopefully I'll have the time to bring them to fruition and photograph and blog about them too! Thanks for stopping by! Feel free to introduce yourself in the comments below; I'd love to get to know you.
-Aimee