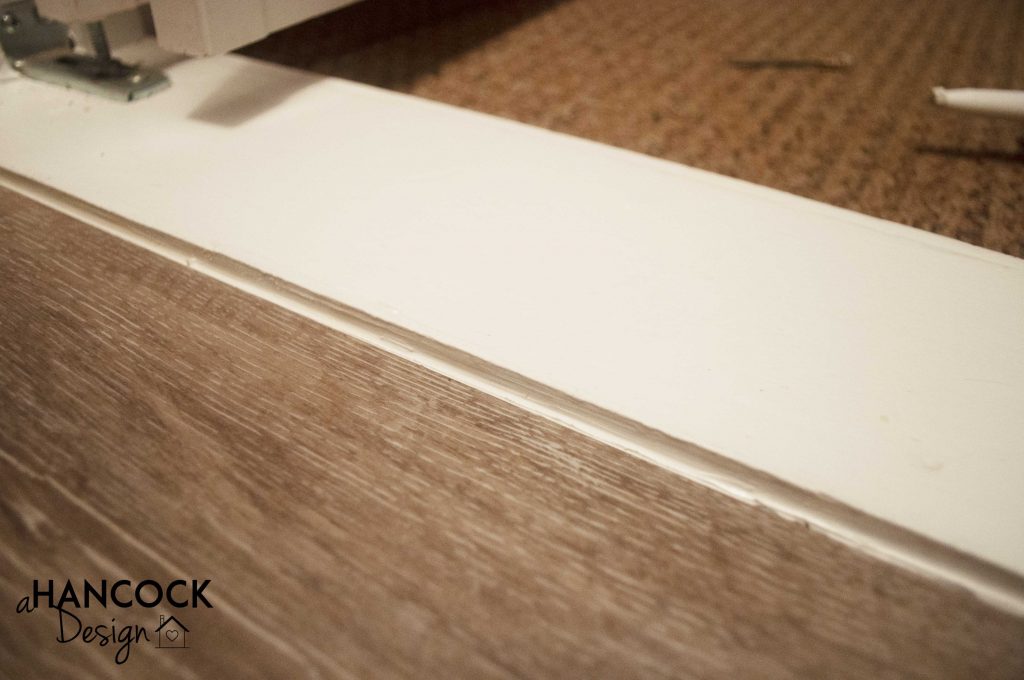
After installing the beautiful new pantry floor, I cut, painted, and put up new trim and then to finish it off, I caulked said new trim. In case you missed the post about the new floor, this is the former condition of the floor in our pantry and the complete lack of trim.
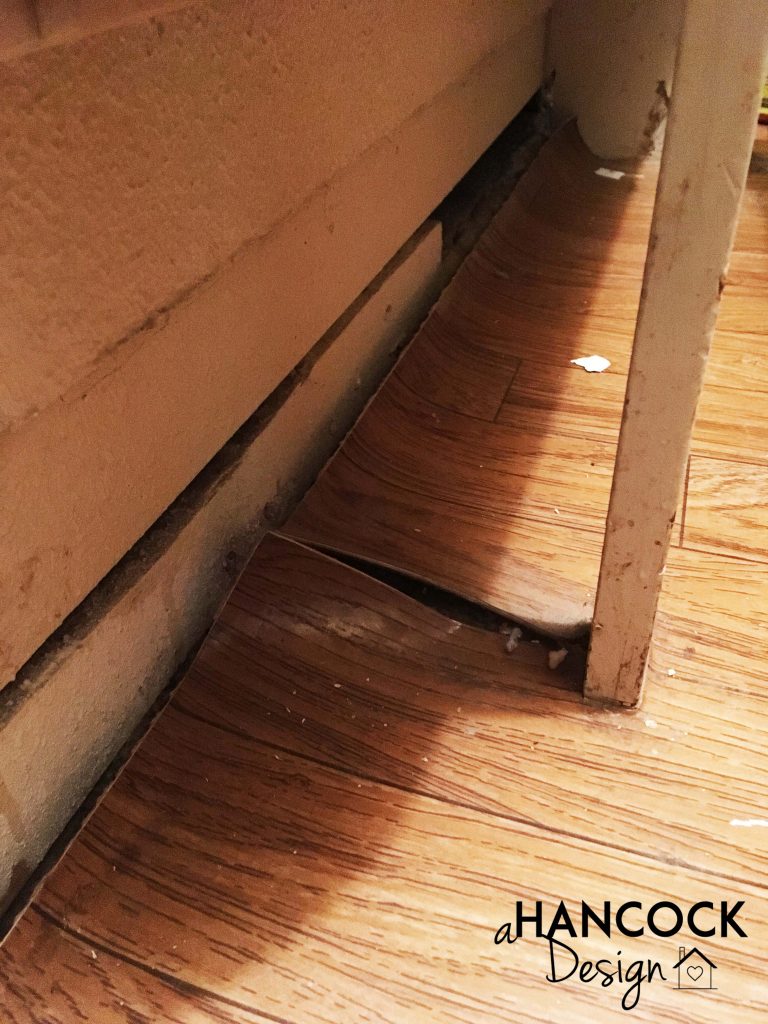
The old floor was peeling up and the pantry presumably has never had any baseboard or doorway trim, at least not in the six years we’ve lived here. The gaps at the floor go to inside the wall and in some places even to underneath the house. There was trim on the outside of the door, but on the inside it was bare as could be. The drywall didn’t even stretch all the way to the doorway and you could see some of the original wood plank wall behind it. I guess our pantry was cool before the current “shiplap is so cool” phase!
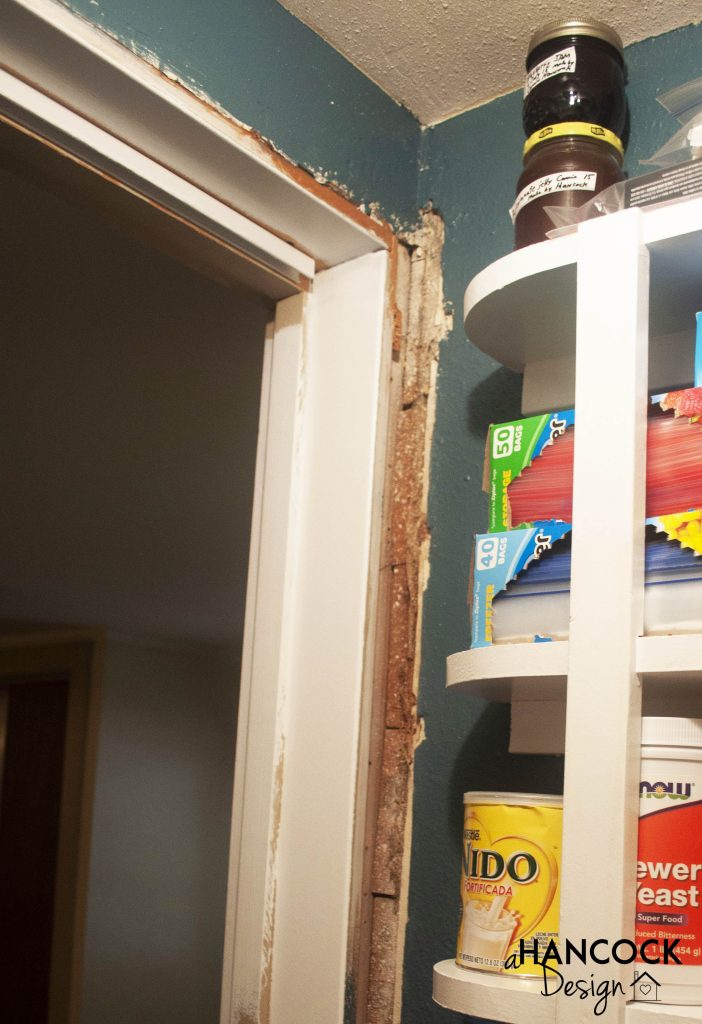
We had some scrap 1×6 boards lying around and since that is the size of the rest of the baseboards in our house (or at least most of them… there isn’t much continuity from room to room throughout the house), I measured out the sizes of baseboard I would need and cut the scraps to size. I used a 1×4 for the trim around and above the doorway. I painted these before I installed them so that I wouldn’t have to worry about getting paint on the floor and also so I could paint without being bent in half and folded under the bottom shelf in the pantry (like I was for hours while chiseling away at the floor which you can read about here!).
After installing the trim (which I did using a pneumatic brad nailer but could have been done with a good old hammer and finish nails), I wanted to caulk around the floor and between the trim and the door frame to give it a more finished look.
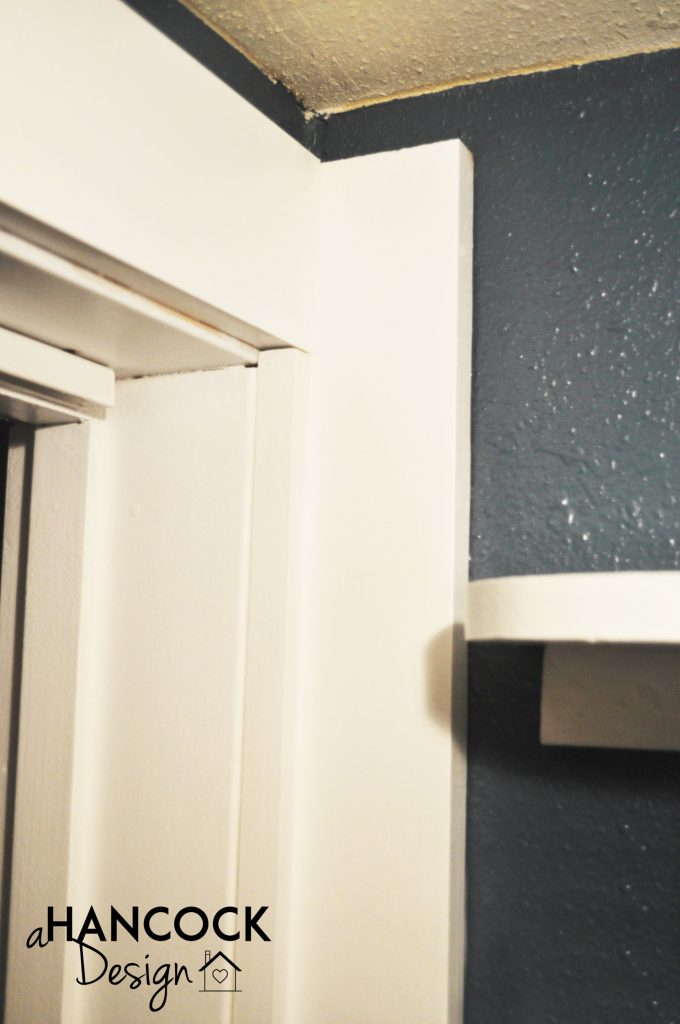
Doesn’t it look great? Okay, so now on to the tutorial of how to make perfectly straight, professional-looking caulk lines. This is a complete ripoff of a post I’ve read on several other blogs, but hey, it’s a great idea and it worked fantastically. I first read this on Ashley’s blog at Domestic Imperfection (post can be found here) and she found the tip at My Blessed Life (post can be found here).
So it’s really easy. When you’re ready to caulk, just put a line of painter’s tape down against the surface to be caulked. You want the tape to be the distance away from the corner that you want your caulk line to be. I didn’t need to in this case, but you may need to caulk on both sides of there the caulk line will go. Make sure your tape line is straight!
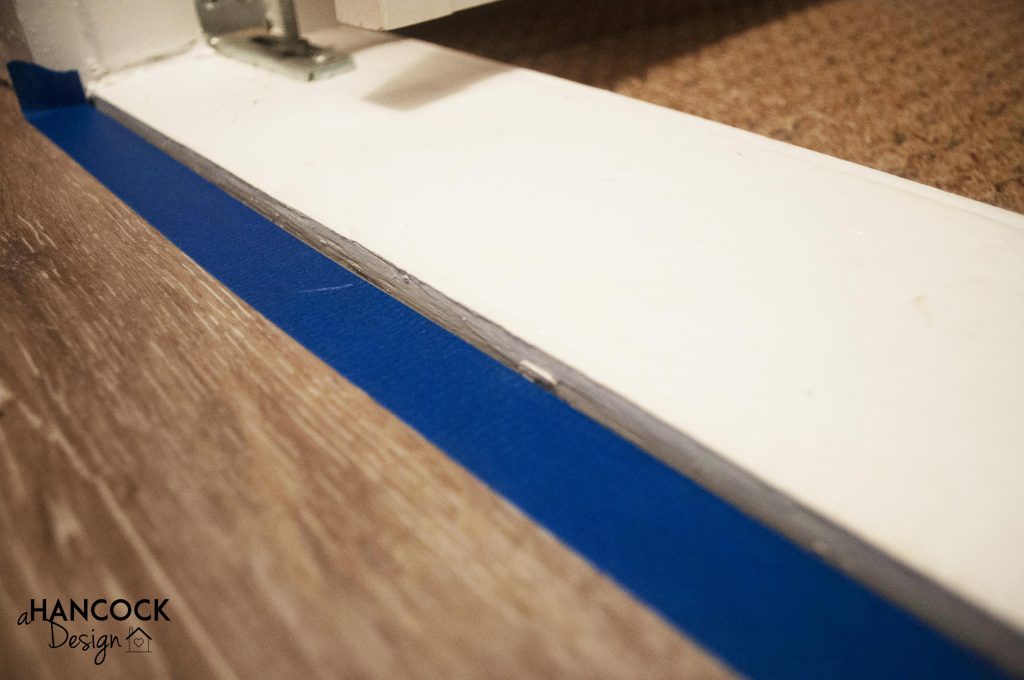
After the tape is positioned where you want your perfect caulk line to be, squeeze the caulk along the line. Don’t put on too much!
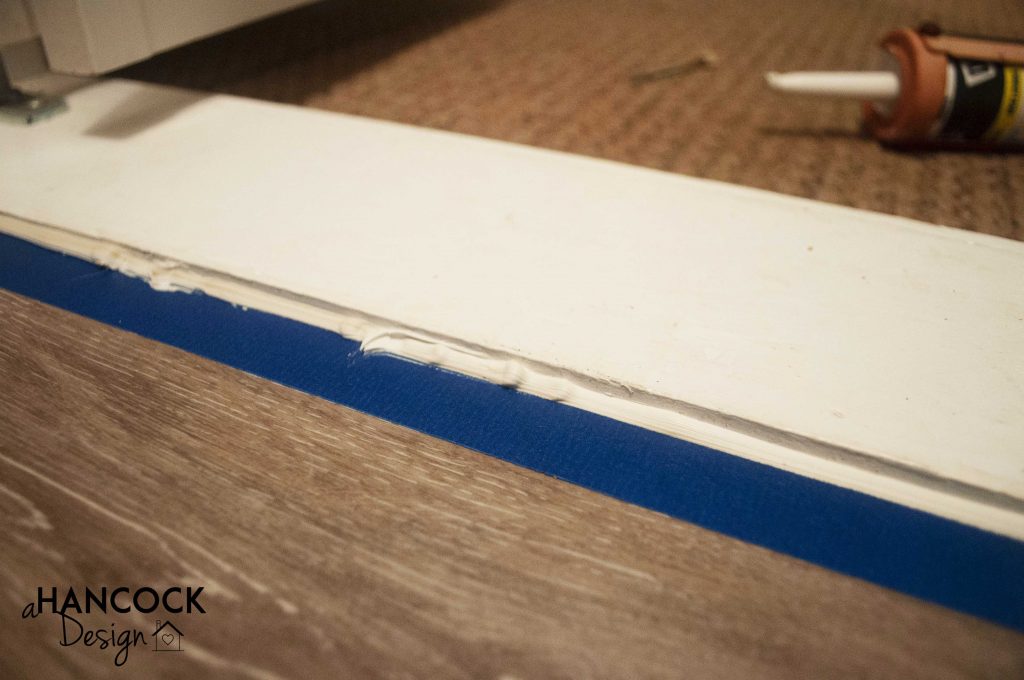
Use your finger to smooth the caulk into a nice even line, smooshing it into the corners and crevices. After you are satisfied with the perfection of your caulk line, and while the caulk is still wet, go ahead and pull up the tape. Voilà! The uneven line on the right hand side of the picture is because I didn’t smooth my tape down fully in that section, so be sure to do that. But even so, I’m very happy with how it turned out. Thanks for the tip, Ashley!
