I built this coffee table for my sister-in-law for Christmas last year and one day, as I was in the late stages of the project, she texted me a link to some picture ledges and asked if they would be hard to make. I eyed up my leftover lumber from the coffee table build and replied, “Not hard at all!” and then built a couple out of the coffee table scraps.
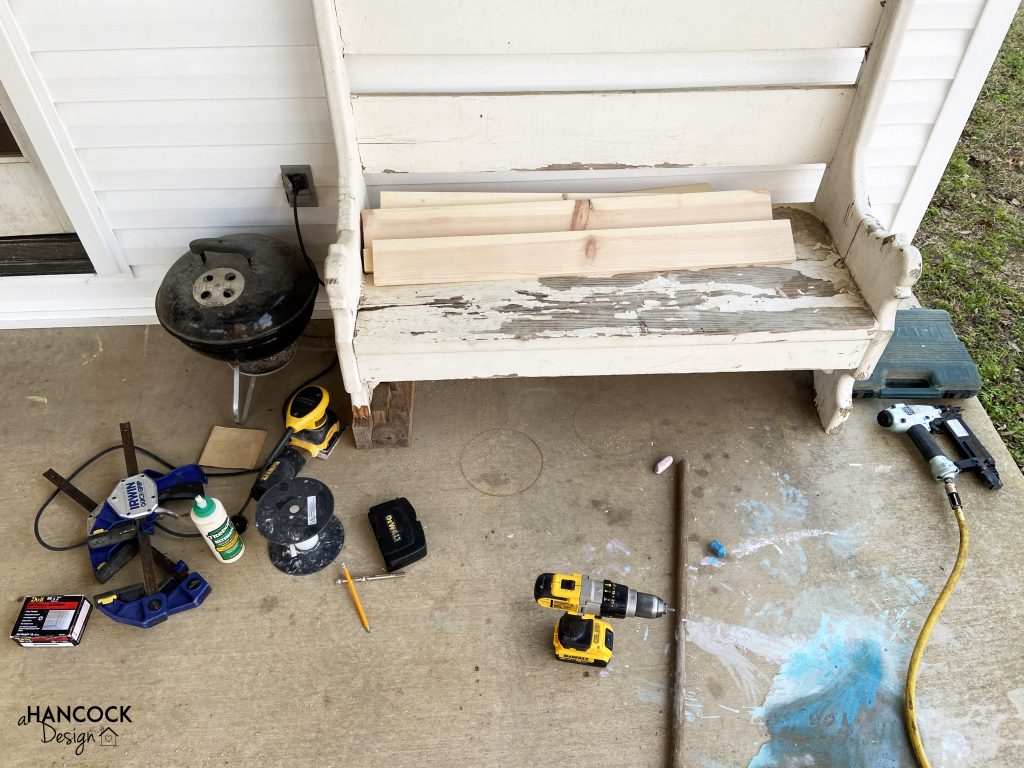
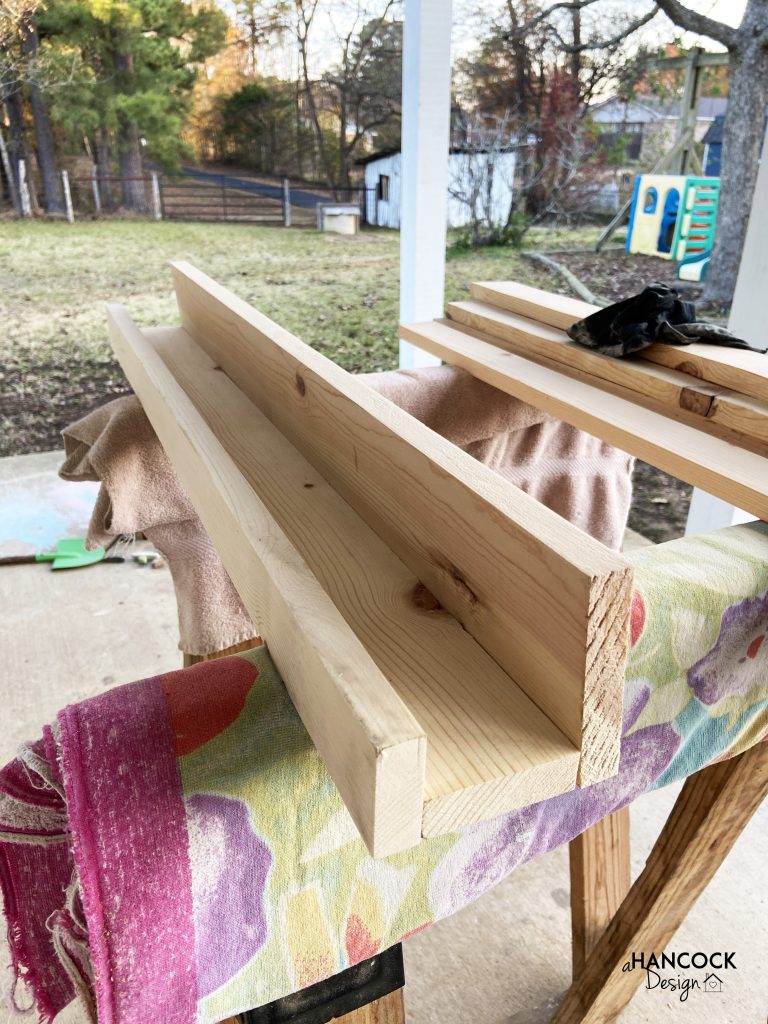
One of these days, I’ll have a real workshop, but for now I utilize the portable workshop alternatively known as my front porch. (That sorry-looking bench came with the house and one of these days I’m going to build a new one… but for now it sits in all its lop-legged glory.)
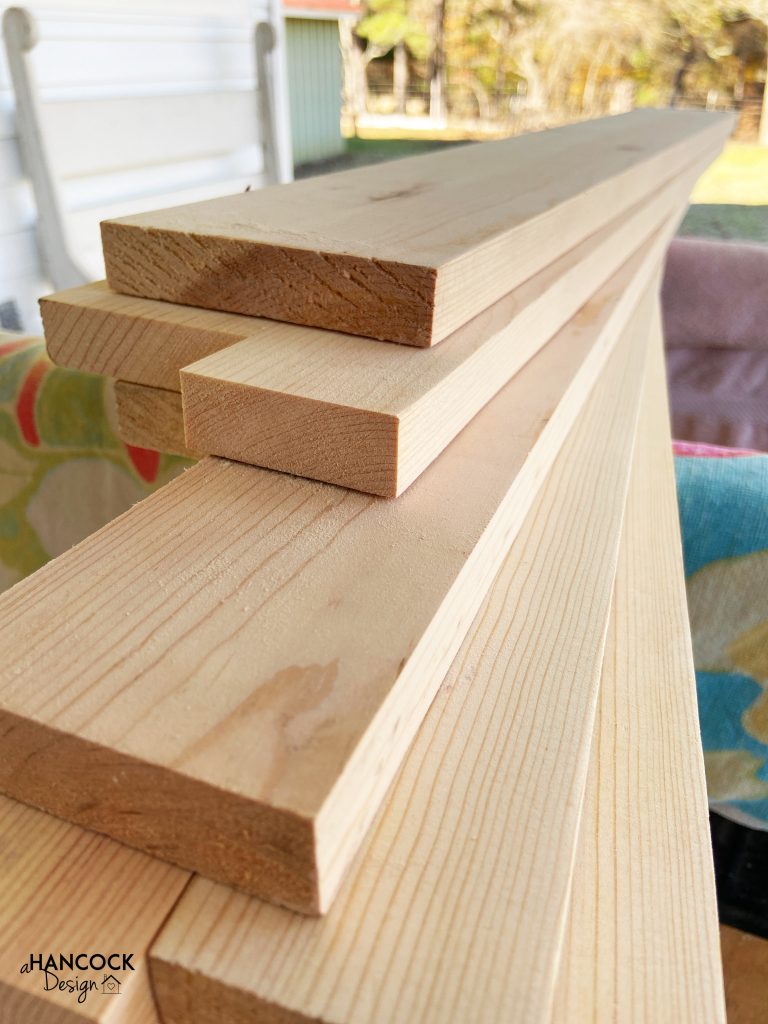
I had a couple pieces of 1×12 leftover from the bottom shelf of the coffee table, so I ripped those down into approximately 1×2, 1×3, and 1×4. I didn’t use those exact dimensions but you could buy lumber at those dimensions and the shelves would still work great.
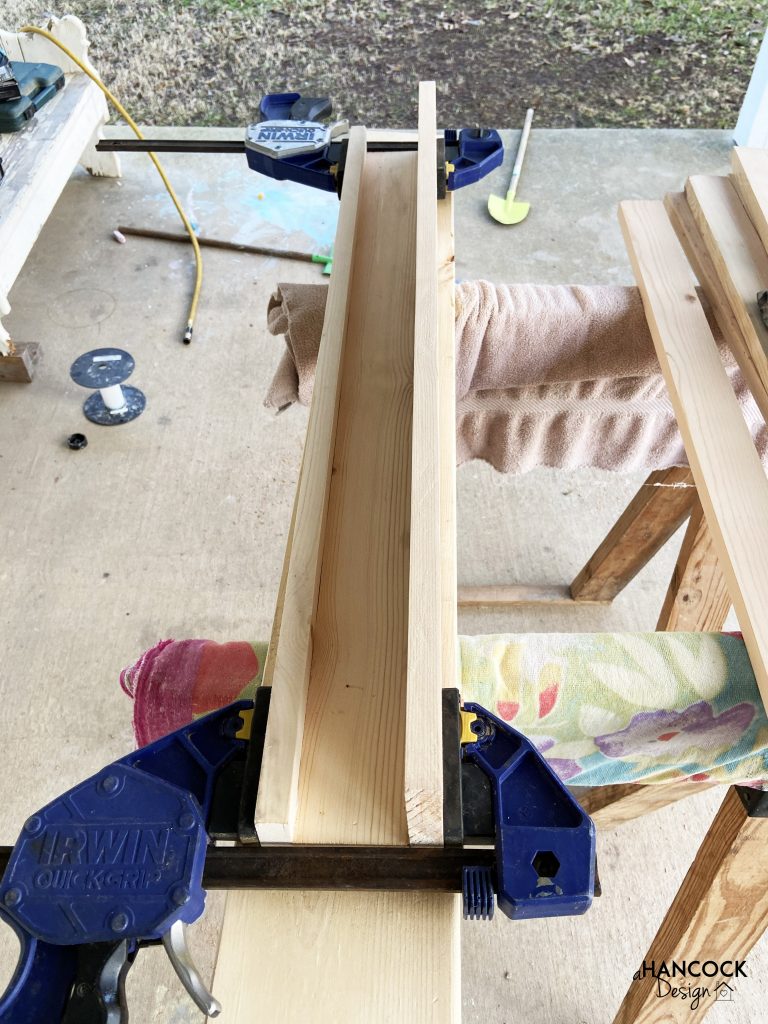
This build was seriously so easy. There are dozens of tutorials out there on the internet so if you need more guidance, just do a quick Google search. Basically, I just laid out the pieces how I wanted them, glued and clamped, and then put screws in the back and finish nails in the front to hold the boards together.
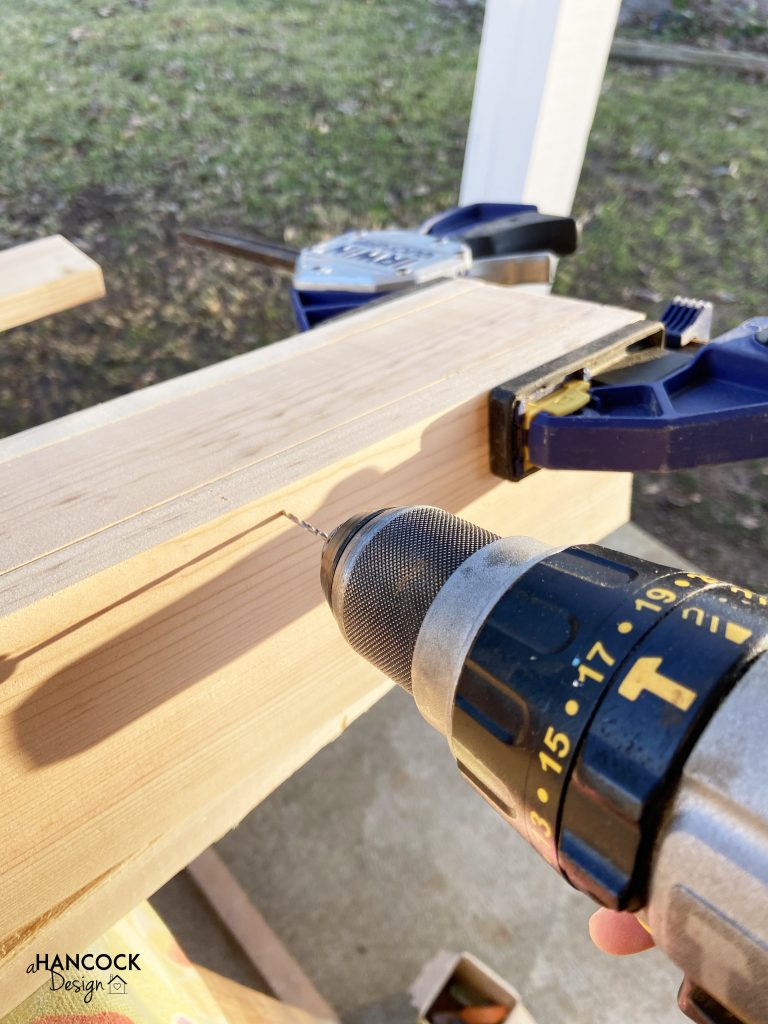
Predrilling, of course, because I was working with such a narrow piece of wood. The screws went in fine but I definitely could use some more practice on my aiming skills with a brad nailer. There were more than a few extra holes I needed to fill in!
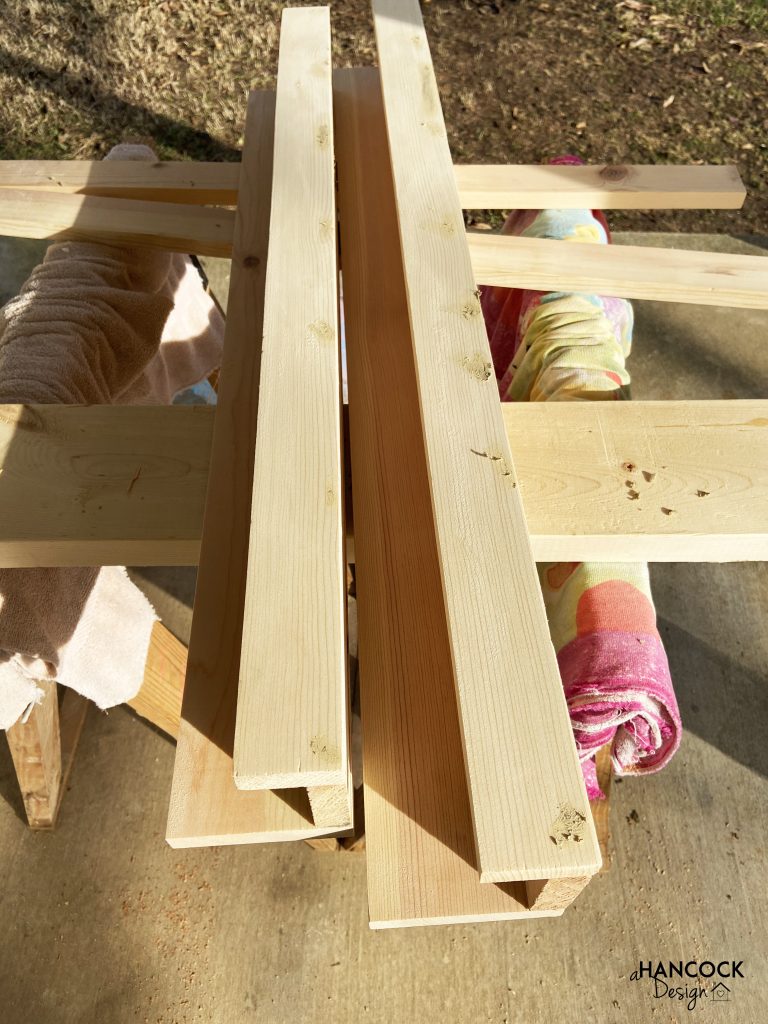
After everything was glued, nailed, and screwed together, I put wood filler in the holes on the front that would be seen on the finished project. After it dried, I sanded it smooth and moved on to the staining.
I used the same stain I had used for the coffee table, which is Minwax either Jacobean or Espresso… can’t remember!
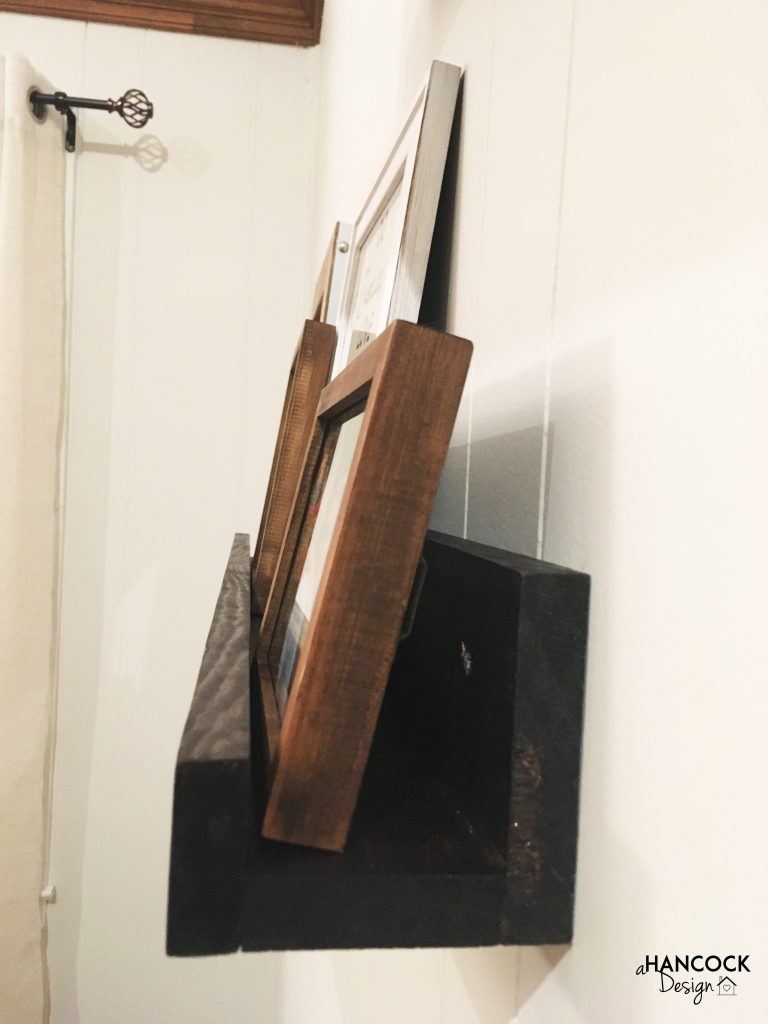
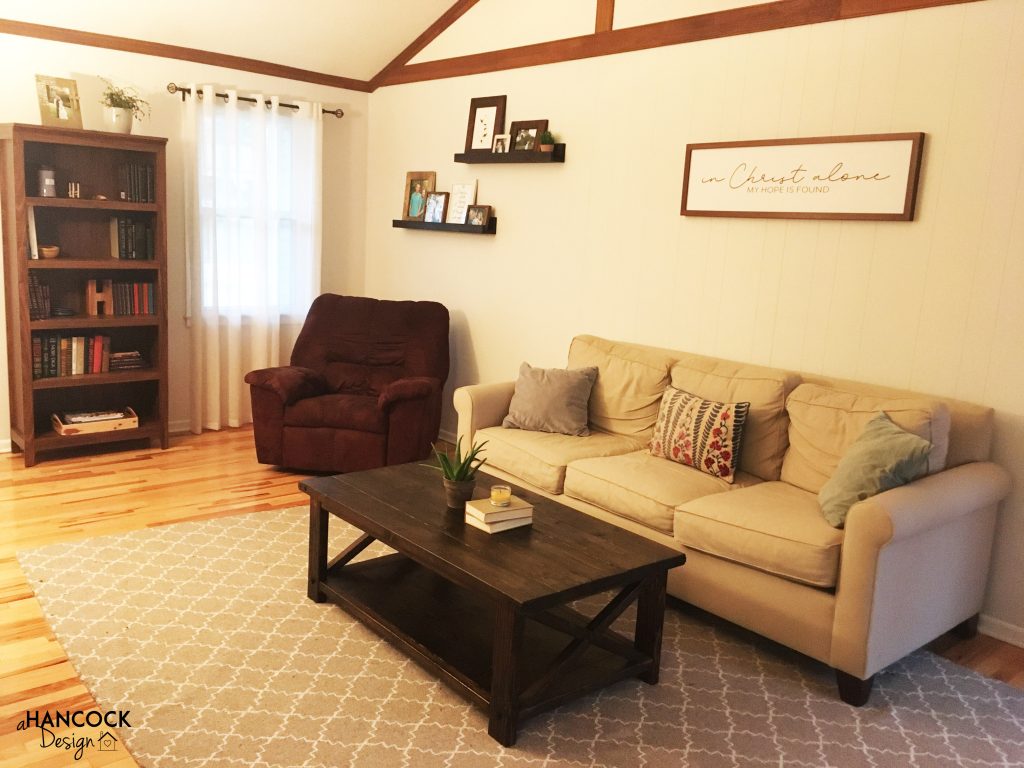
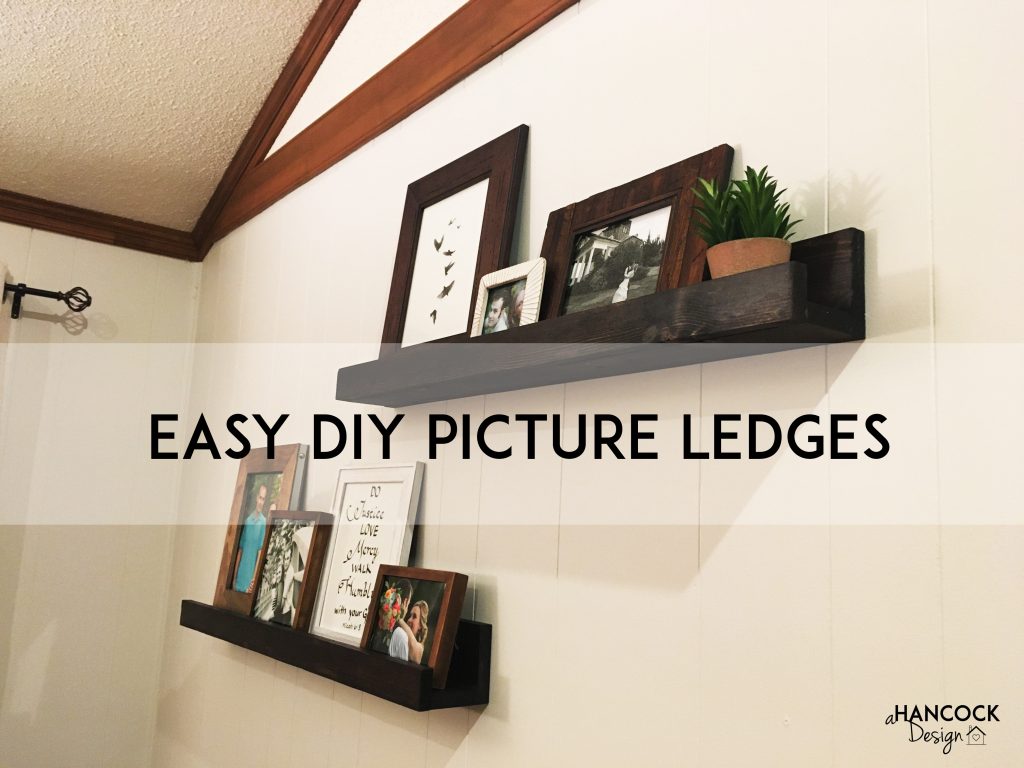
And there the shelves are in all their styled beauty! This project was so fast (maybe 3 hours for two shelves total time) and very cheap (free because I used scrap and leftovers) and looks great!