This post contains a lot of pictures. You have been forewarned.
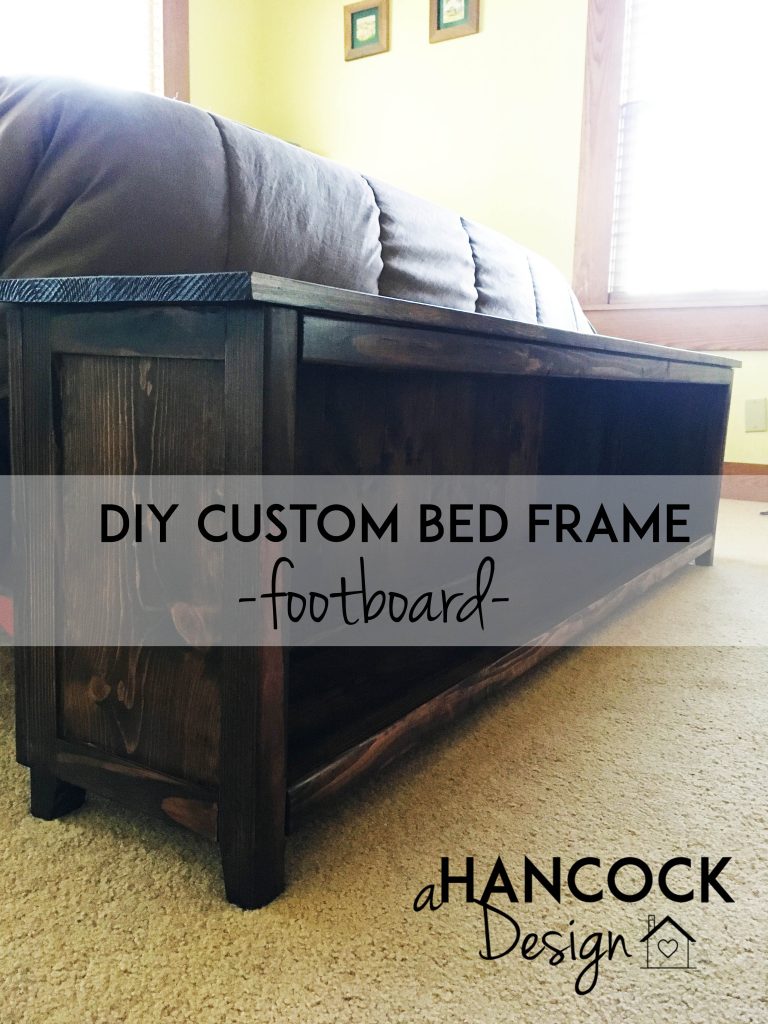
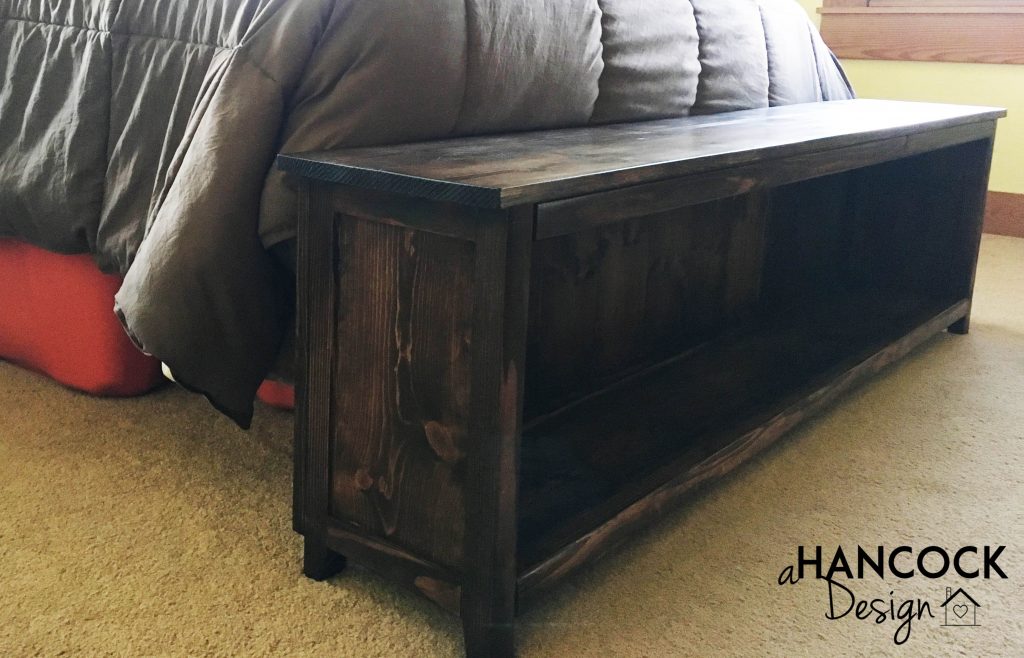
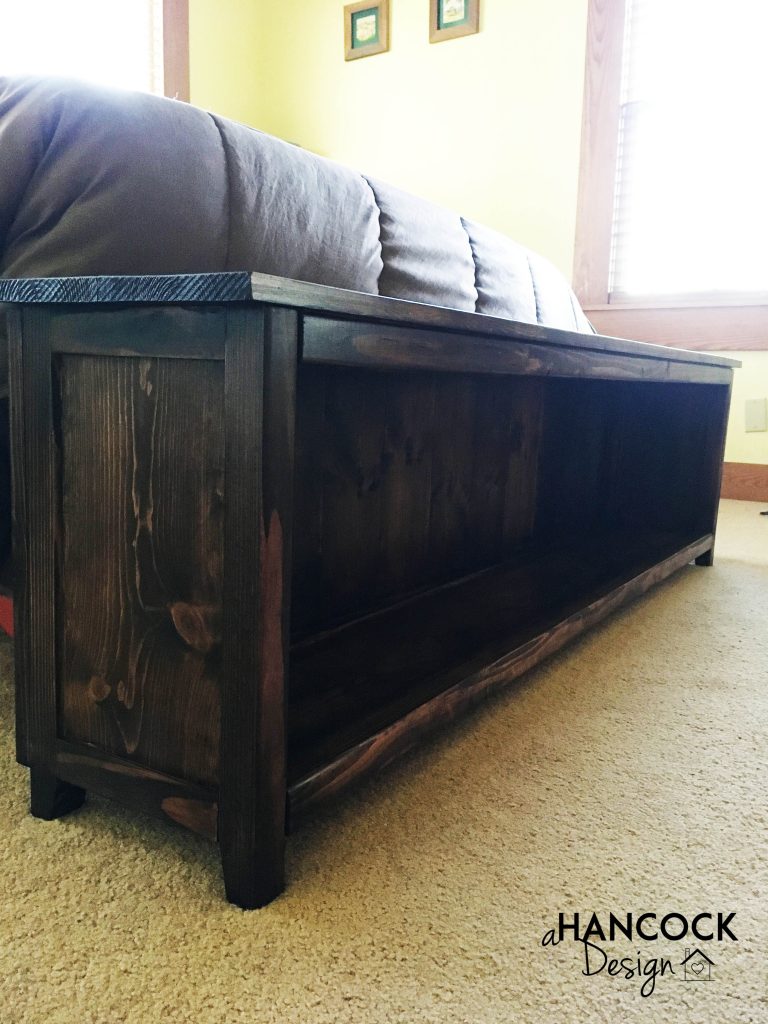
We designed and drew plans for a custom bed frame. Our mattress is currently resting on top of a set of plastic storage bins. Functional, but not exactly pretty. We wanted the new bed to still contain a good amount of storage options and also had some specific requirements.
The bookshelf/foot board had to be the right height for sitting down on to put on socks and shoes. There had to be space underneath the bed to store our camping air mattresses (we splurged and I’ve never regretted it). There had to be hidden storage to hold a laptop, a water bottle or two, and a lamp. There had to be drawers for clothing storage so we could do away with one of our dressers. It had to be inexpensive and it had to look fantastic! Okay, that last one is wishful thinking, but I’m pretty confident that it will happen.
After drawing the plans and calculating costs, we decided to build the foot board first since it was a fraction of the cost and a much simpler project, and that way we could see how the stain color looked in our room before committing to a larger piece of furniture in that same color. The dimensions are specific to our project but the look of the foot board is loosely modeled after this Kentwood bookshelf from Ana White and Whitney and Ashley at Shanty 2 Chic.
I finalized the plans (changing them a few times first, of course) and wrote down a list of lumber and materials and headed off to my favorite store, Home Depot. We purchased the necessary wood, hauled it home, and I got to work. I forgot to take any pictures before I got started, but everybody knows what a pile of lumber looks like!
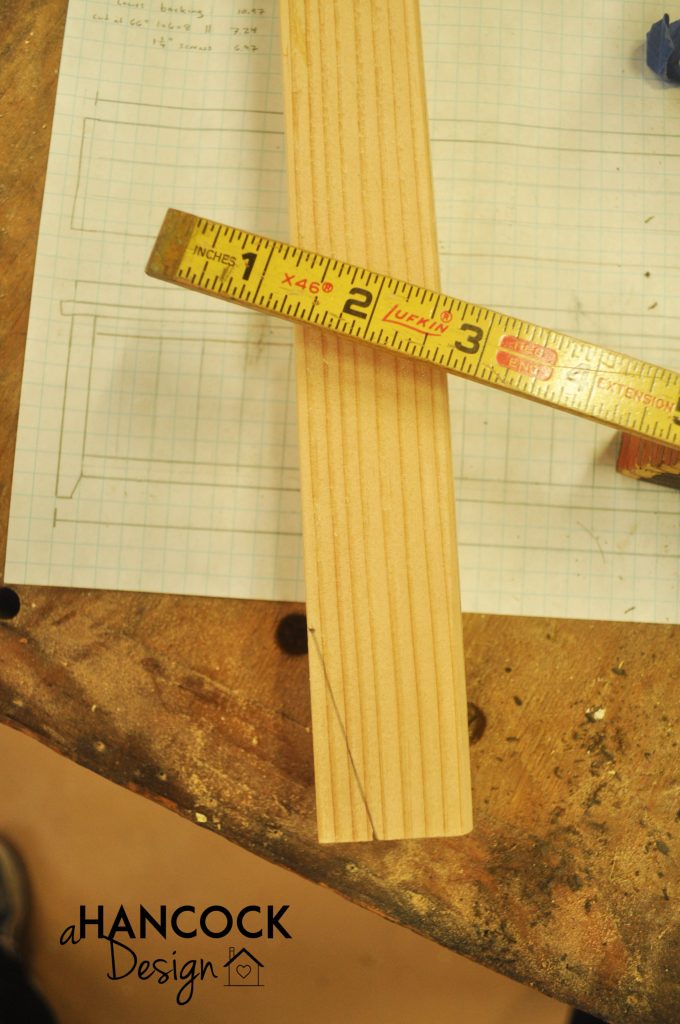
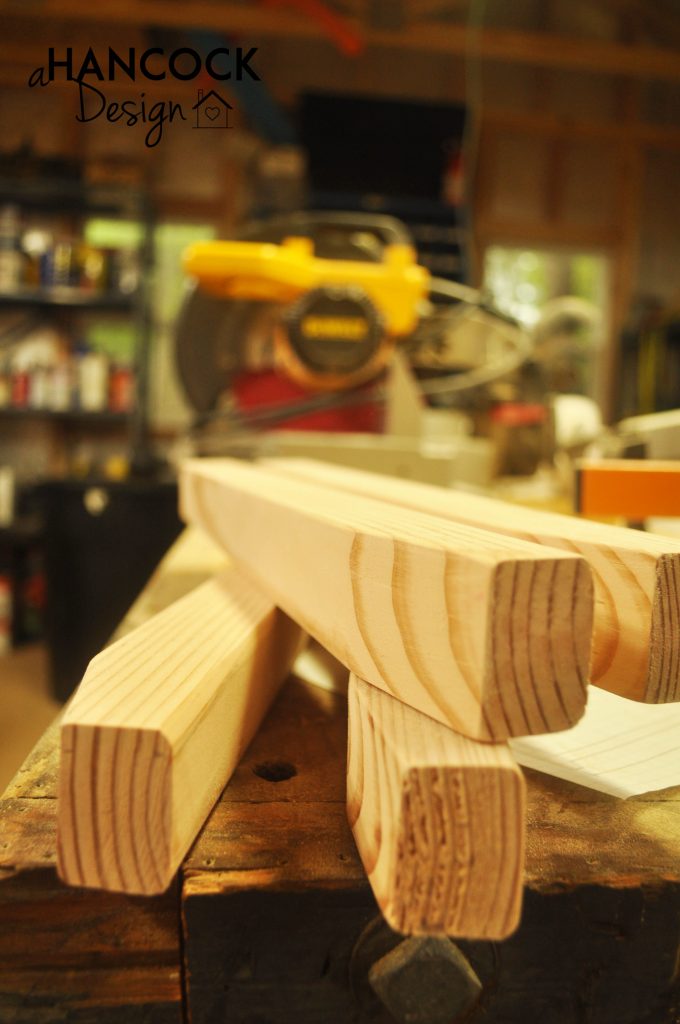
The first thing I did was cut to length all the wood for the legs and bottom piece of the bookshelf, as well as the small decorative pieces on each end. The four legs I wanted at a taper, so I measured that off and chopped away.
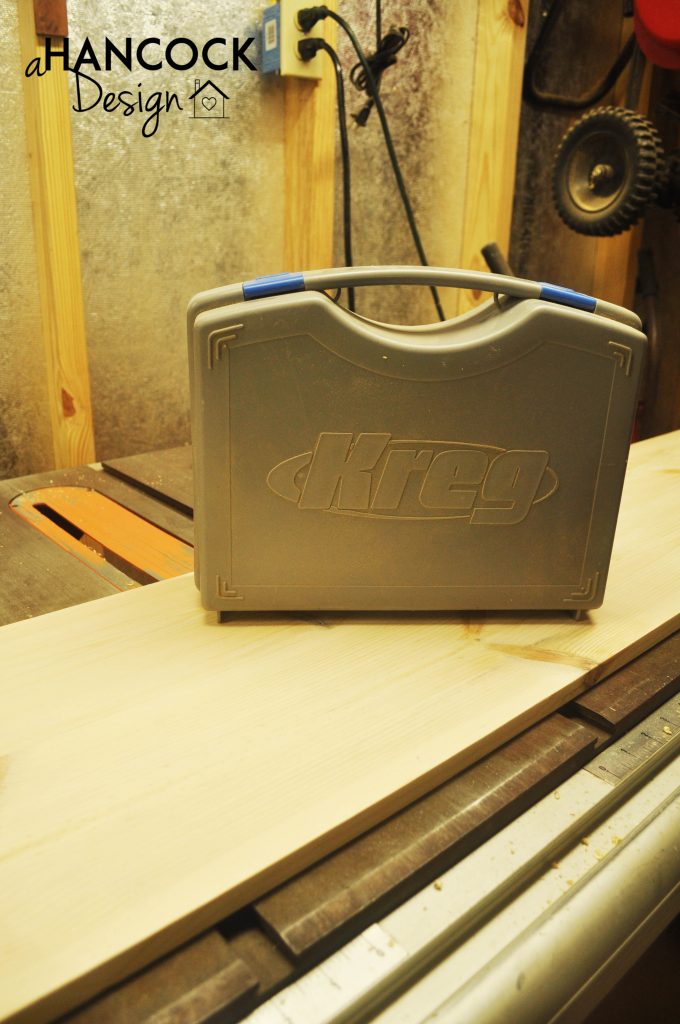
The next step was to drill pocket holes in all the end faces and bottom shelf. I used a Kreg Jig Master System. I’ve used this kit several times before and it was definitely a learning curve to figure out how to use it (thanks, YouTube!) but it really raises the professionalism of a woodworking project to the next level by being able to hide the screws and holes.
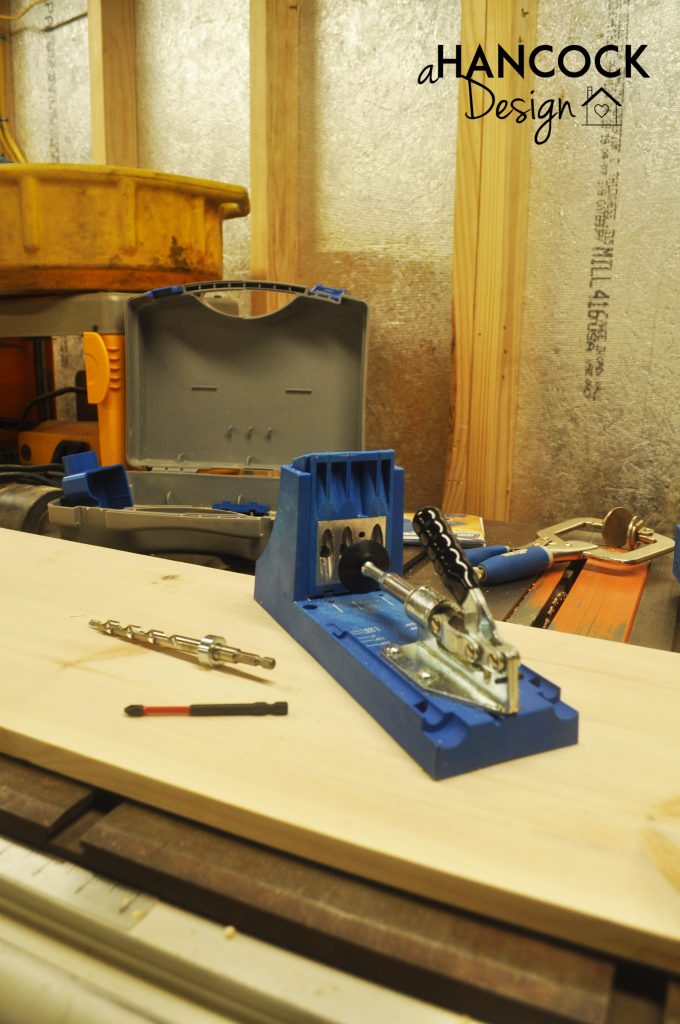
This kit comes with a 6″ square head (pocket screw) driver bit, which is great if you want to fork out the extra cash to buy the specialized square head pocket screws. Steve Ramsey, whose YouTube profile I linked to above, has a video talking about if it is necessary to use the square head self-tapping screws or if any old screw will work. He said that generic screws are more likely to split the wood… but so far I have had success with using them. I bought a 6″ Phillips driver bit and it’s been working well.
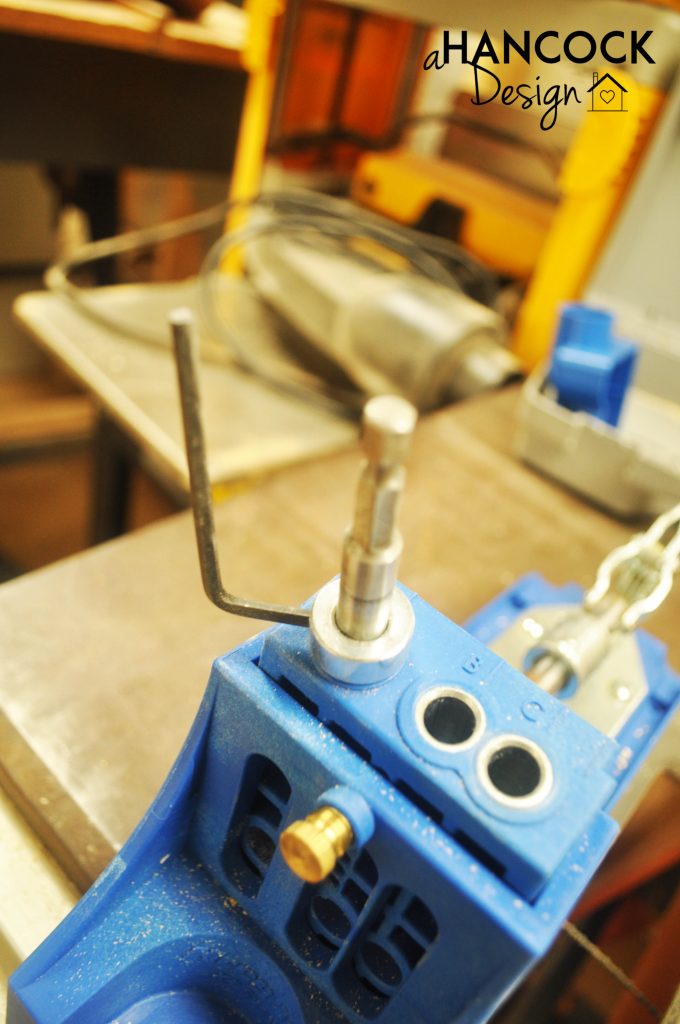
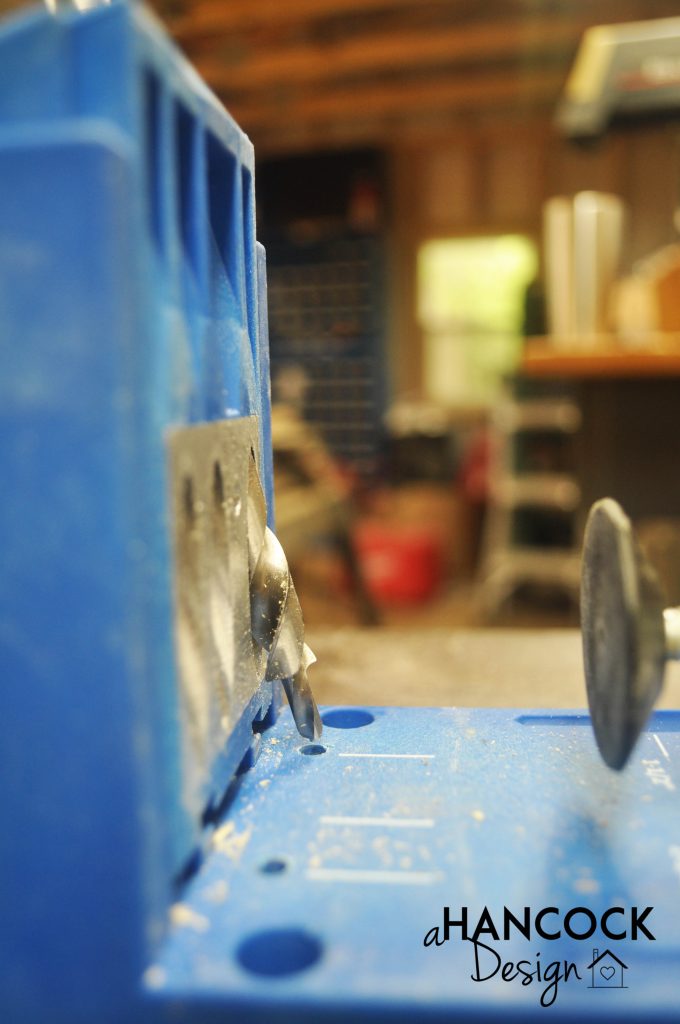
To use the Kreg Jig, you first have to set the collar depth on the drill bit. Using the hex wrench provided, adjust the collar until the tip of the bit is just barely off the base plate of the jig. Then, tighten the collar.
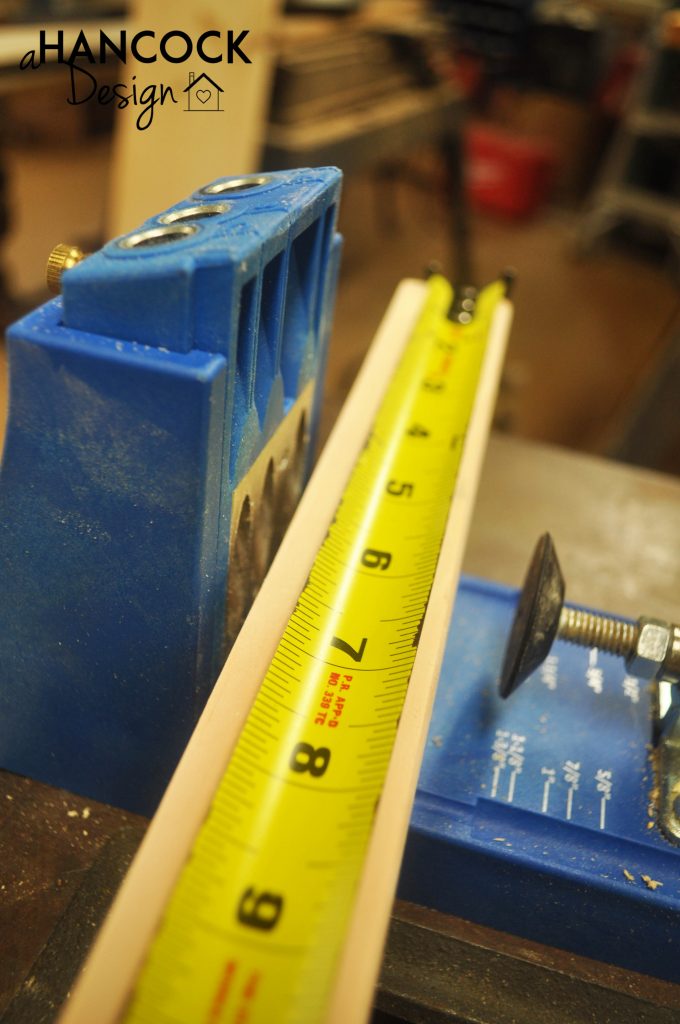
Next you’ll want to measure the distance on your board at which you want the pocket hole located. For 90 degree joints this will just be at the end and you’ll stand the board up lengthwise in the jig. However, for this project, I did a lot of side-to-side joining so I drilled several pocket holes down the length of various boards.
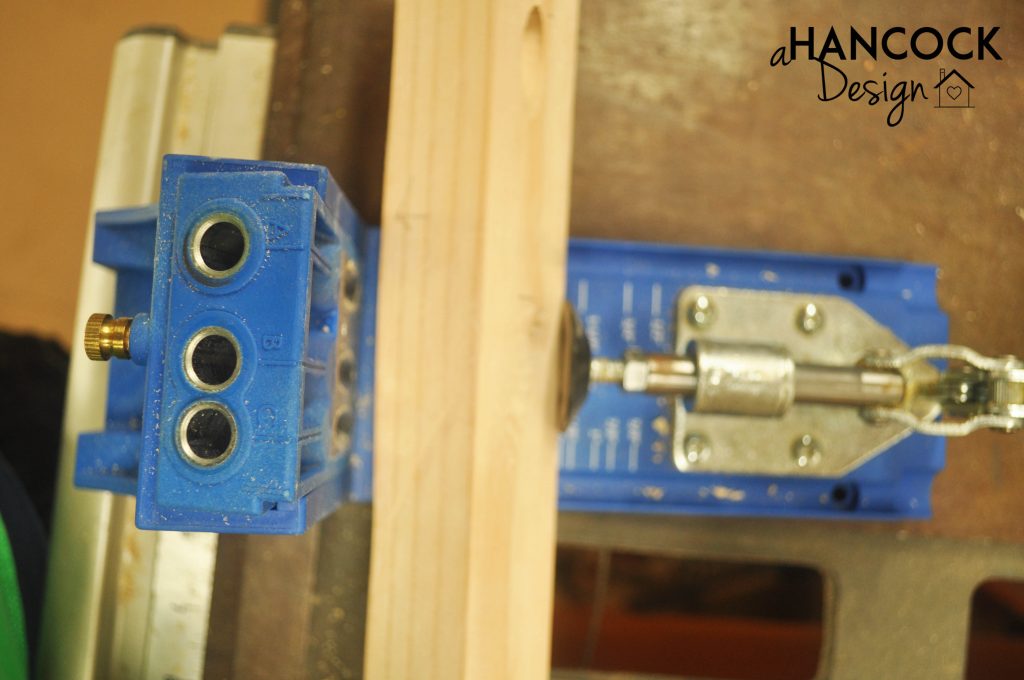
The letters on the top of the jig are to help with spacing, so after you mark where you want the hole to be, line it up with the appropriate space and clamp it tightly.
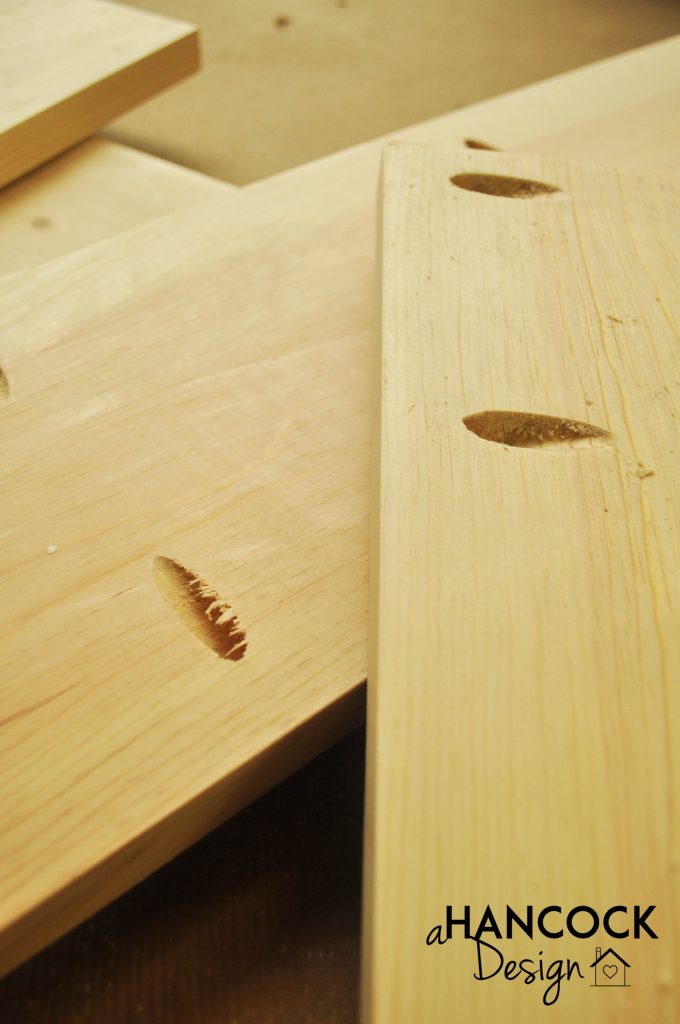
The holes were a little rough after I drilled them so I took some time and rolled up a piece of sand paper to get the jagged pieces off. I made the mistake on a previous build of just leaving them because I thought it wouldn’t be noticeable (on the underside of a table) but I catch my fingers on it almost every time I sit at the table! The board on the left is unsanded and the one on the right is sanded… in case you couldn’t tell.
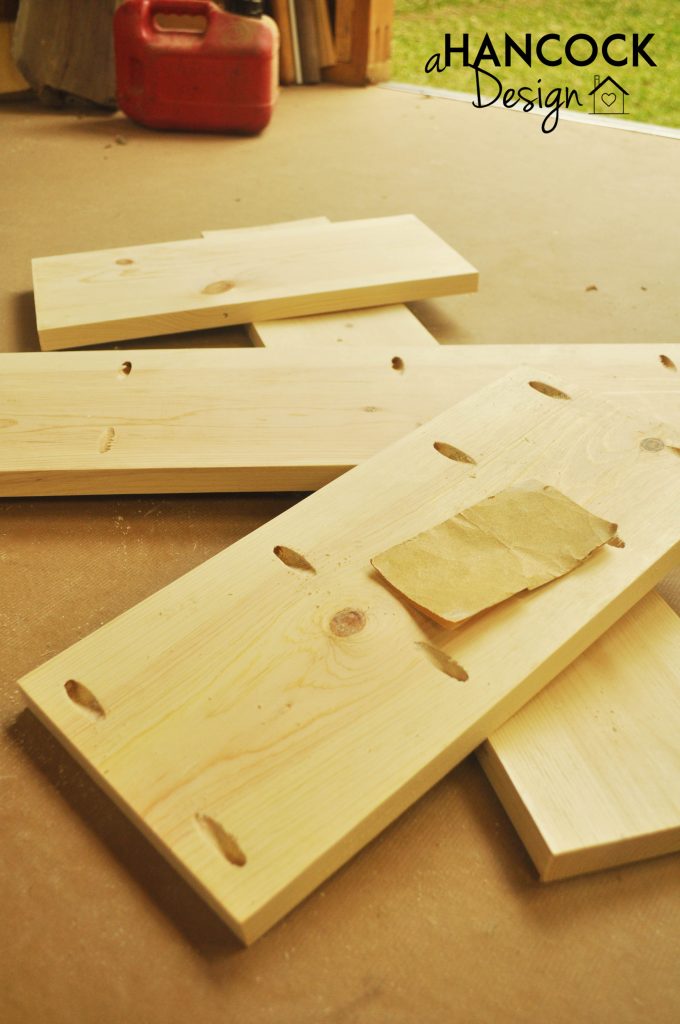
It was a lot of sanding. Like really, a lot.
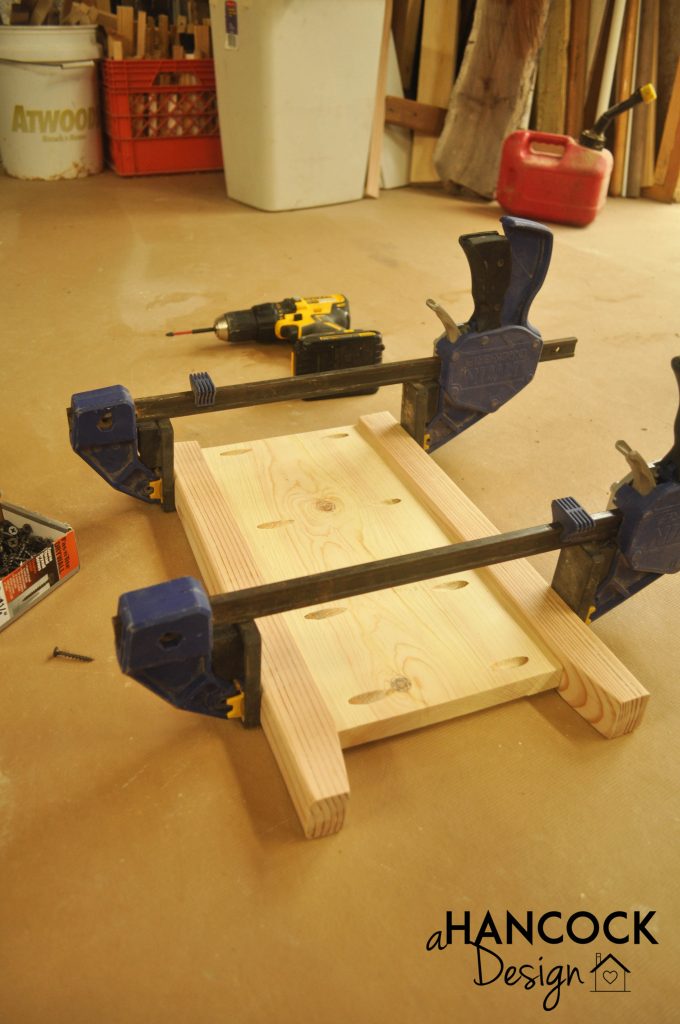
I put a strip of glue along either edge of the face board and then clamped the side pieces on while I put the screws in the pocket holes.
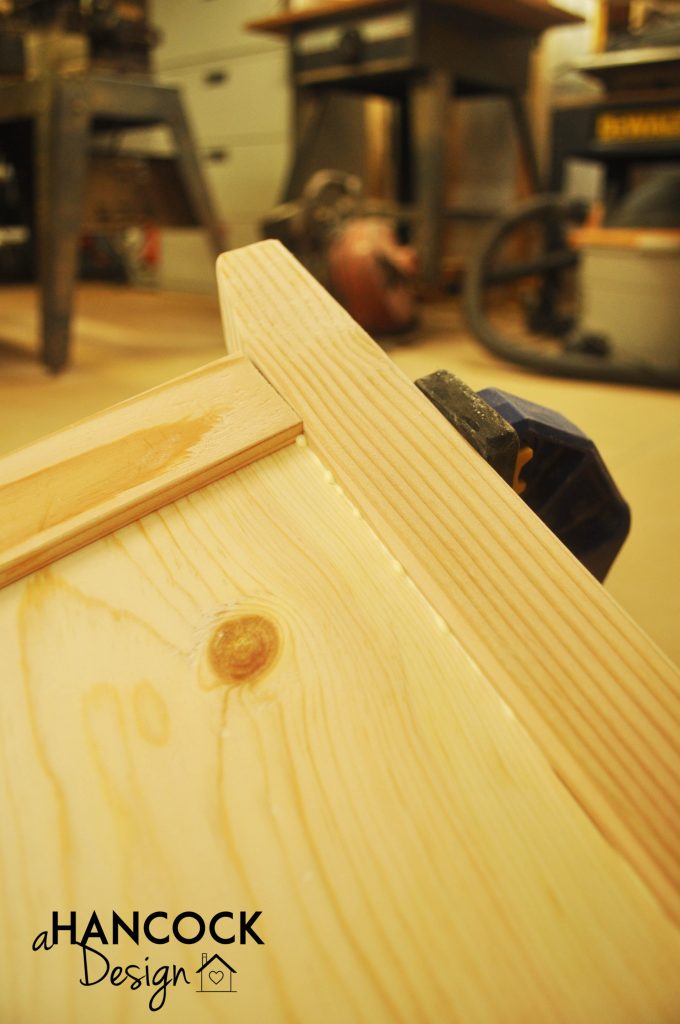
Make sure to check all the crevices and joints for glue seeping out! It is so much easier to wipe with a damp rag while the glue is still fresh than try to sand or scrape it out after it dries.
Next step… plug those pocket holes! I used these handy dandy pocket hole plugs. They are made in a variety of different types of wood so you can easily match them to your project.
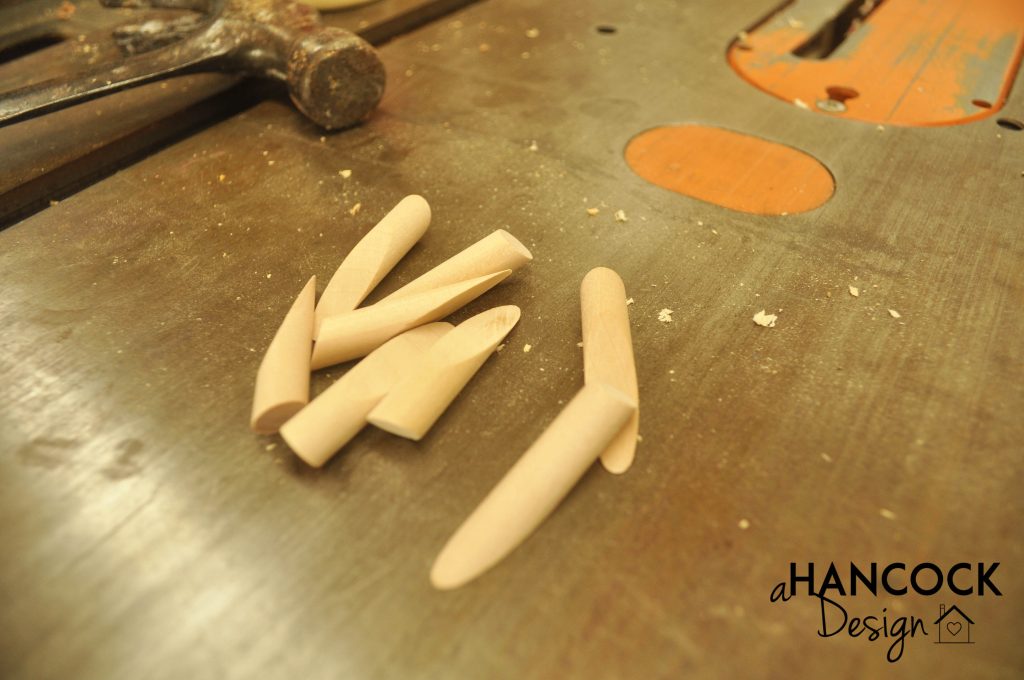
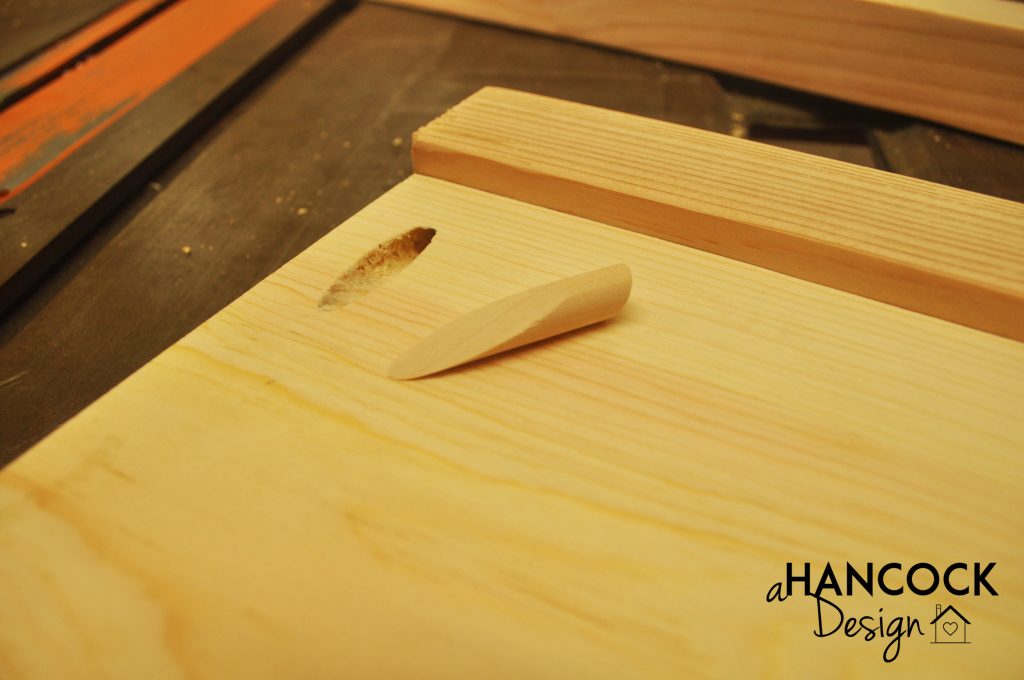
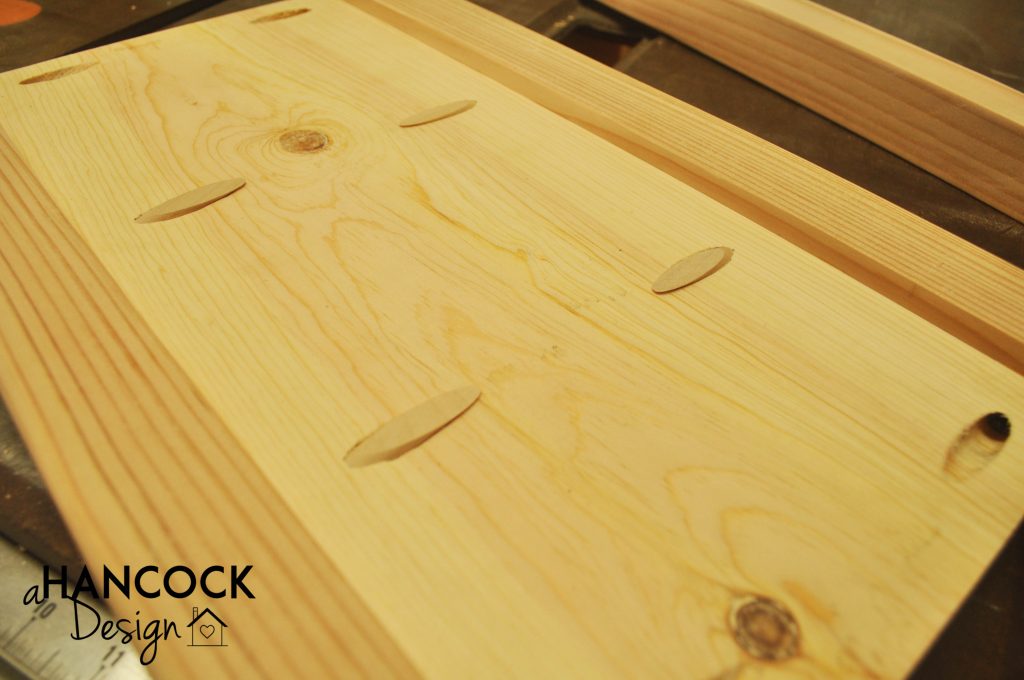
Basically, you just pop the plug in the hole with a dab of glue, wait for it to dry, and then sand away until it sits flush with the board. It’s not perfect and you can definitely still see where the pocket hole was, but it looks better than having the actual hole. Notice in the picture below, the board on the right has been sanded so the plugs are flush.
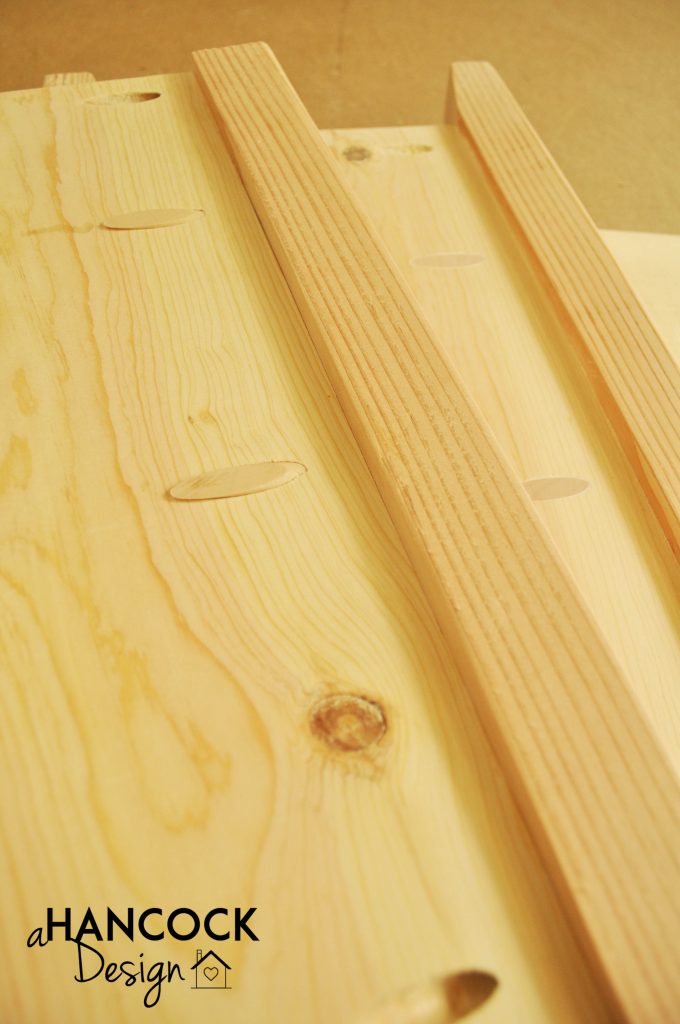
The Kentwood bookshelf has decorative horizontal pieces on the top and bottom of the sides of the shelf, so I cut those out of some scrap and glued them on. They’re not even nailed or screwed, just glued and clamped until the glue dried. (Again, make sure to check for glue seepage so you can wipe it off!)
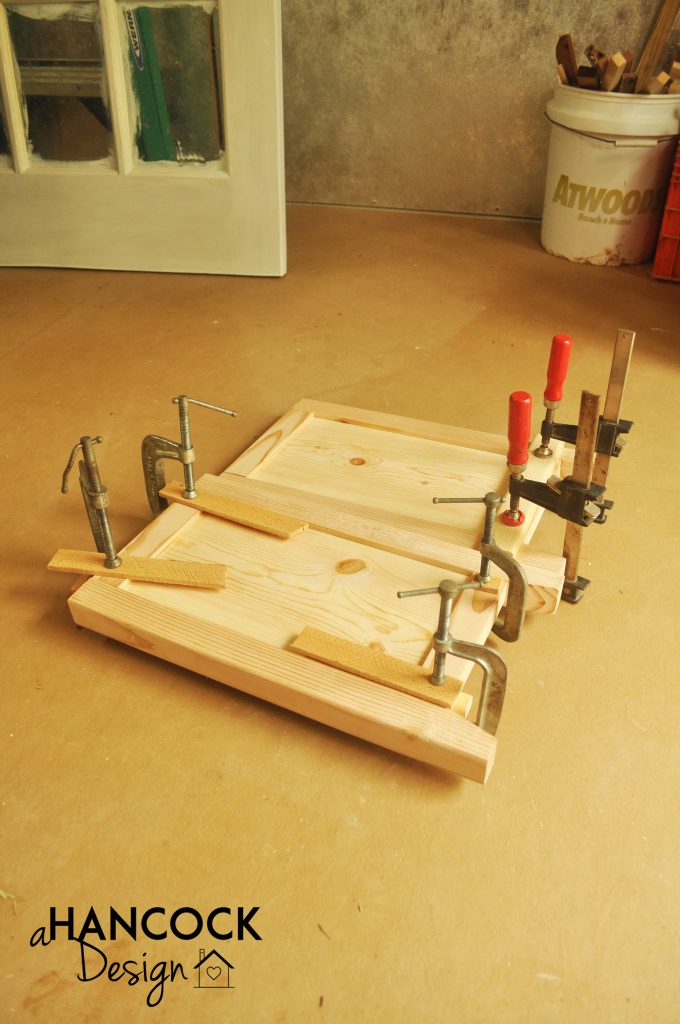
I repeated the process to make the bottom shelf of the foot board… glue, clamp, screws in pocket holes.
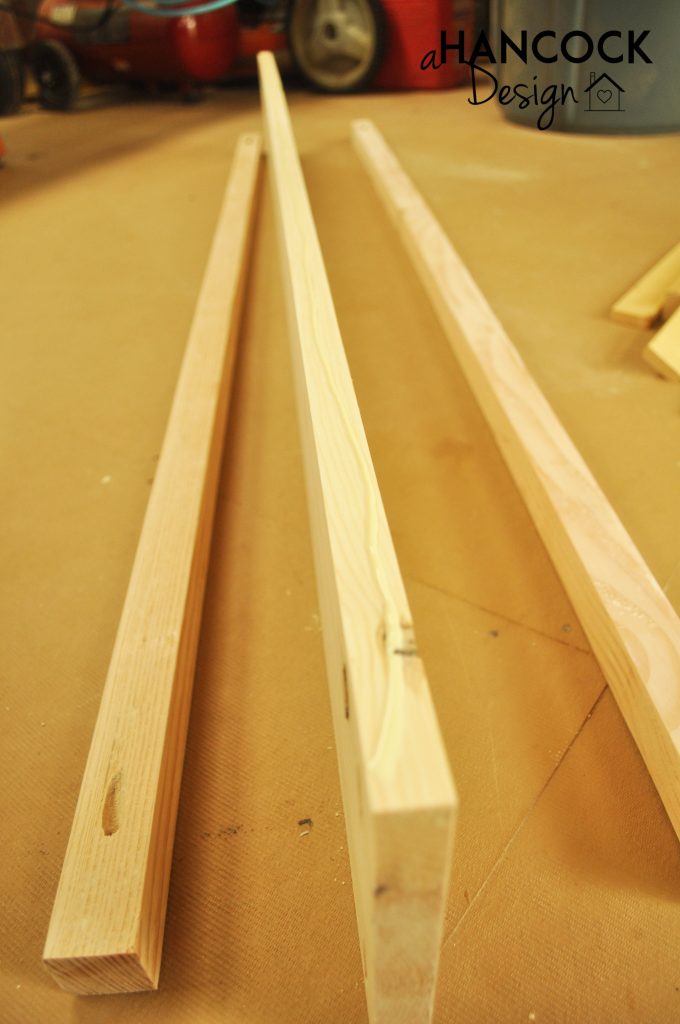
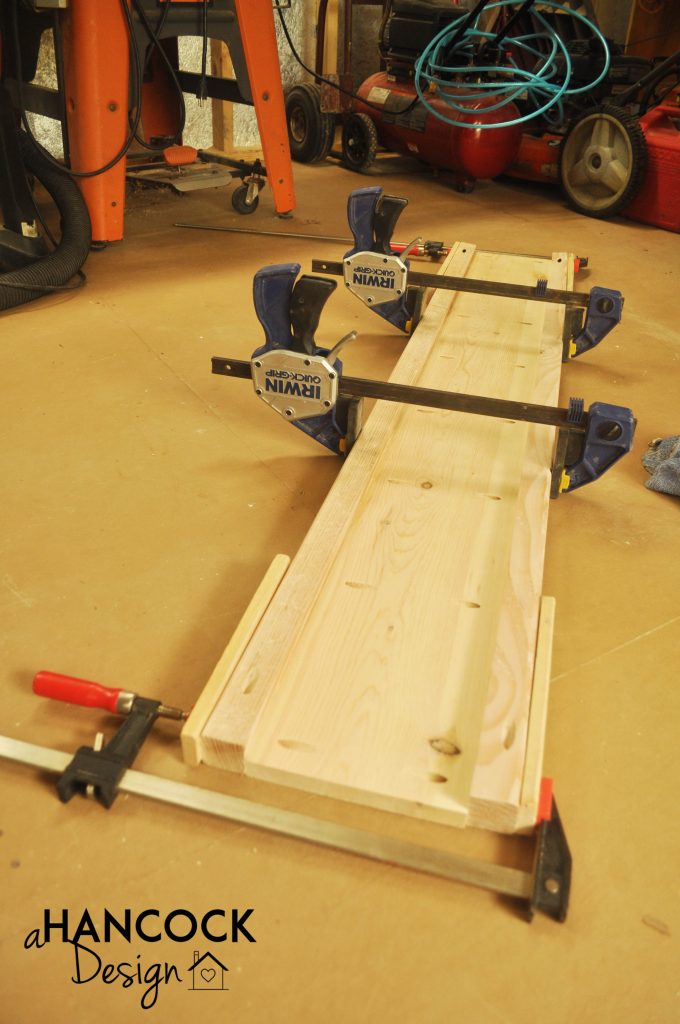
I did a dry test to see what the bookshelf would look like with the bottom piece and the end pieces together… and look at that gap! A measurement oops. Oh well, what can’t you fix with a little scrap wood and glue?
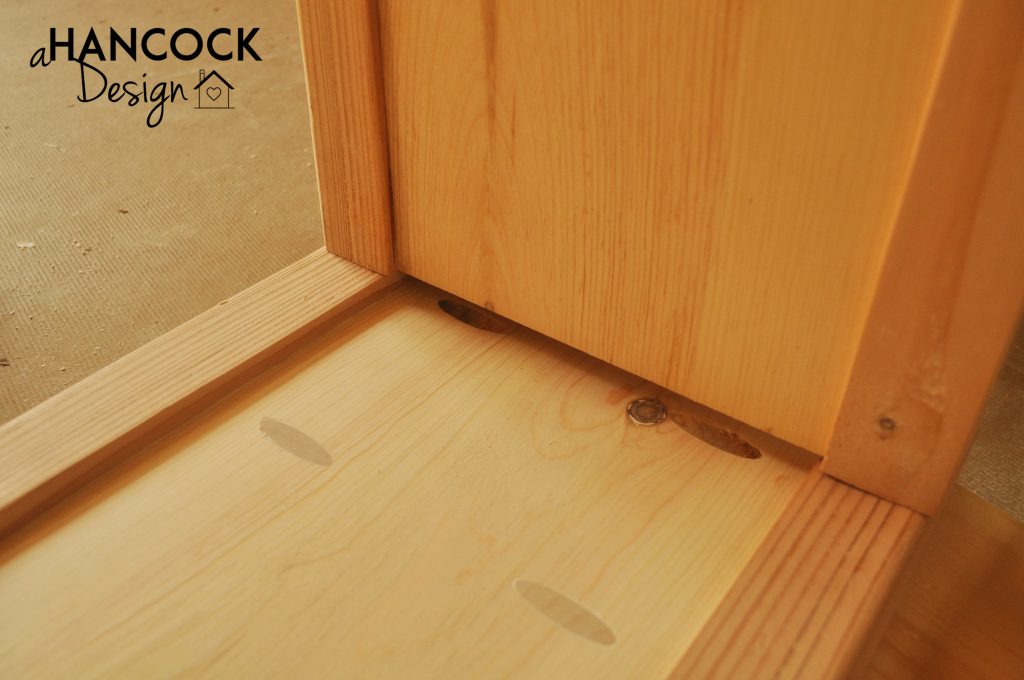
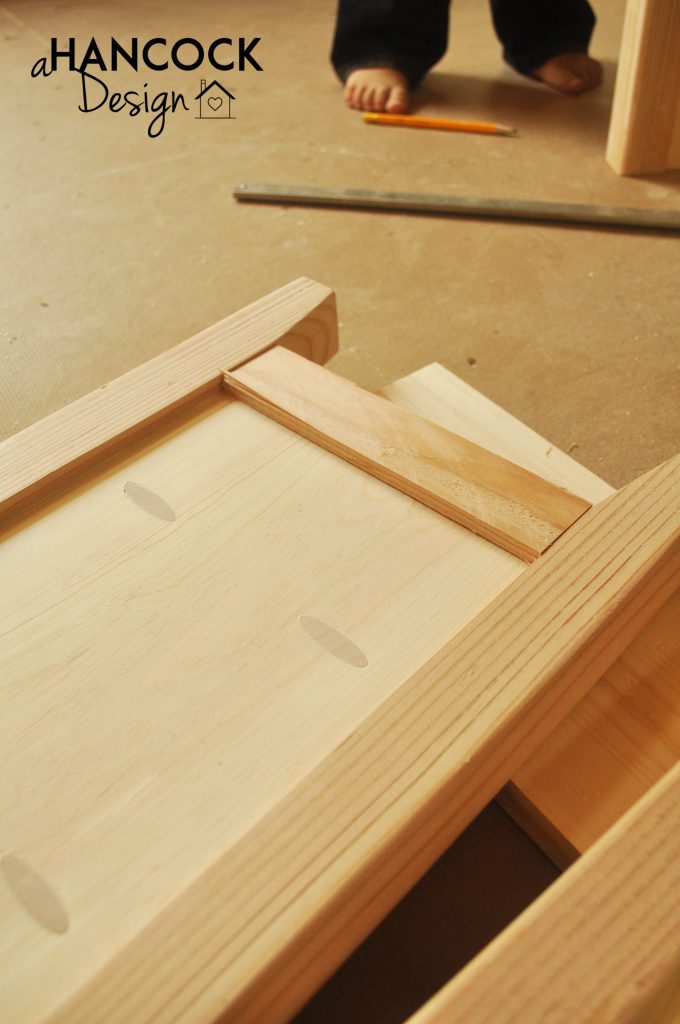
I cut two more scraps just like the decorative pieces I had put on the outside of the shelf sides and put them on the inside on the bottom so that they would fill the gap.
Spot those little toes?
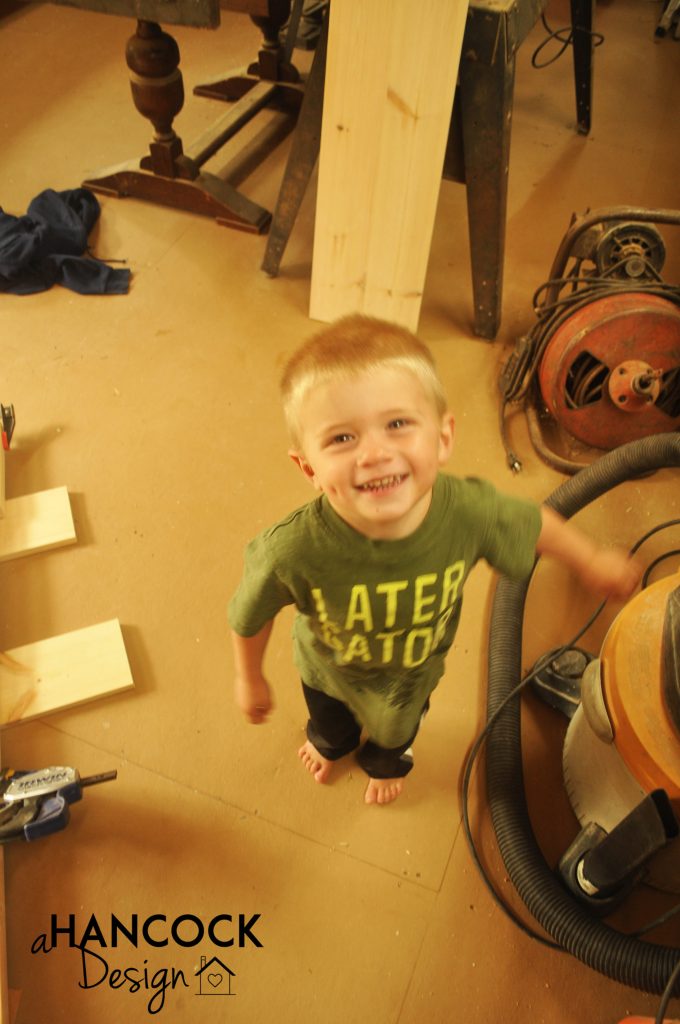
This cute kid was helping me… and by helping I mean picking up all of my tools and pretending to use them and then setting them down in a different location, and asking every 90 seconds if I could take a picture of him. But he sure is fun to work with!
The scrap-wood-and-glue solution worked. Not perfect (though I could have done a better job) but much less noticeable.
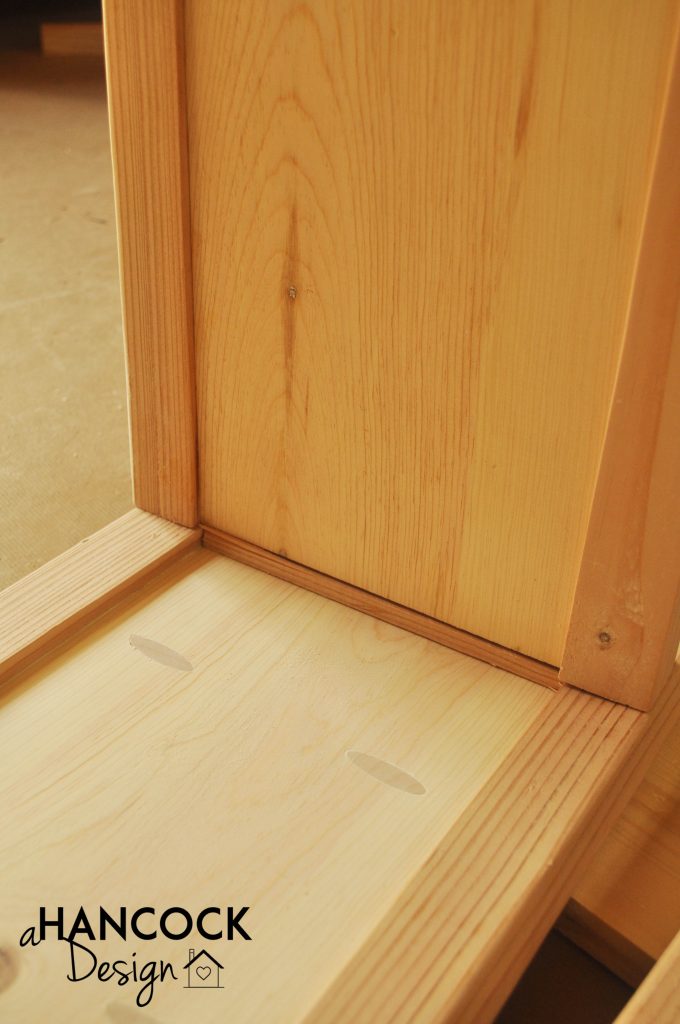
Up until this point I had worked alone (well, me and the three year old) but I enlisted the help of my sister to attach the sides, bottom, and top supports. It’s a little tricky to balance two 5-foot boards and a heavy 5-foot shelf by yourself while wrangling a drill and making sure the screws go in straight.
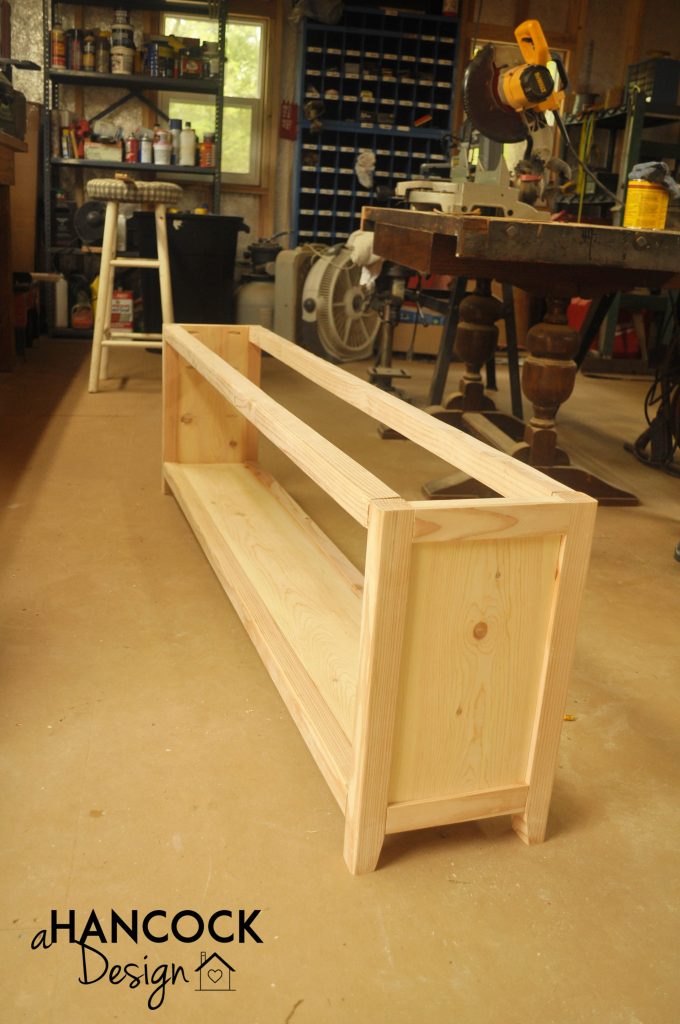
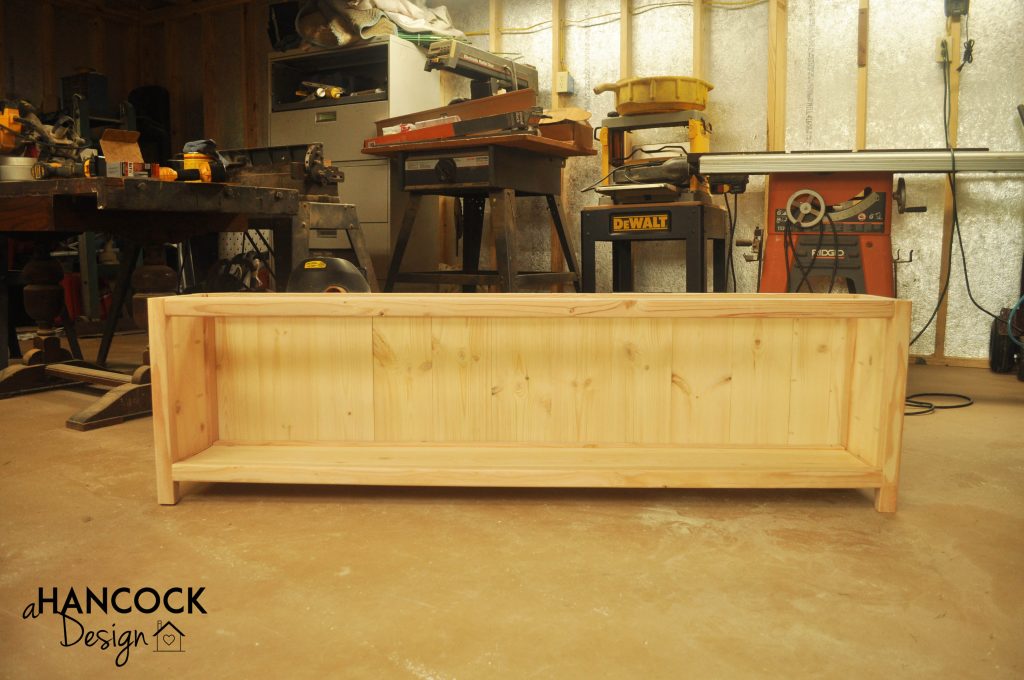
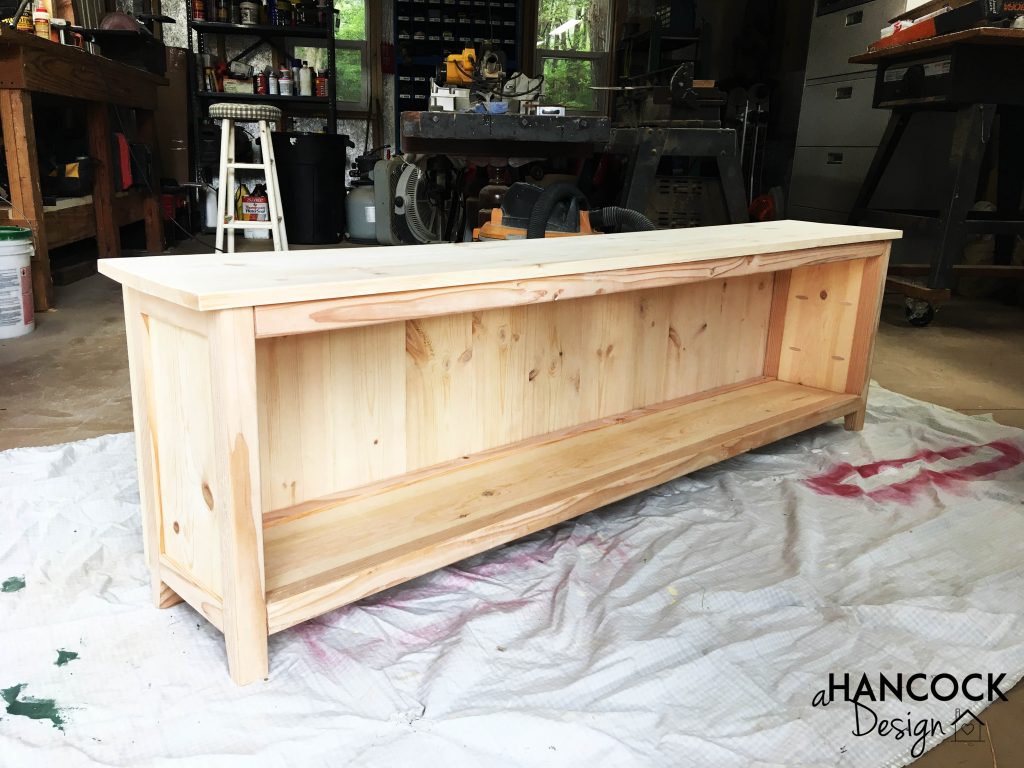
I got excited at this point because it looked like a real piece of furniture!
The next step was to put the backing on the shelf. The ladies at Shanty 2 Chic put a plank paneling from Lowe’s as the backing on their Kentwood bookshelf and that was my plan but I couldn’t find it anywhere when I was at Lowe’s. I even looked for a comparable product at Home Depot but to no avail. So I just grabbed a couple of 1×6 boards and cut them down to size.
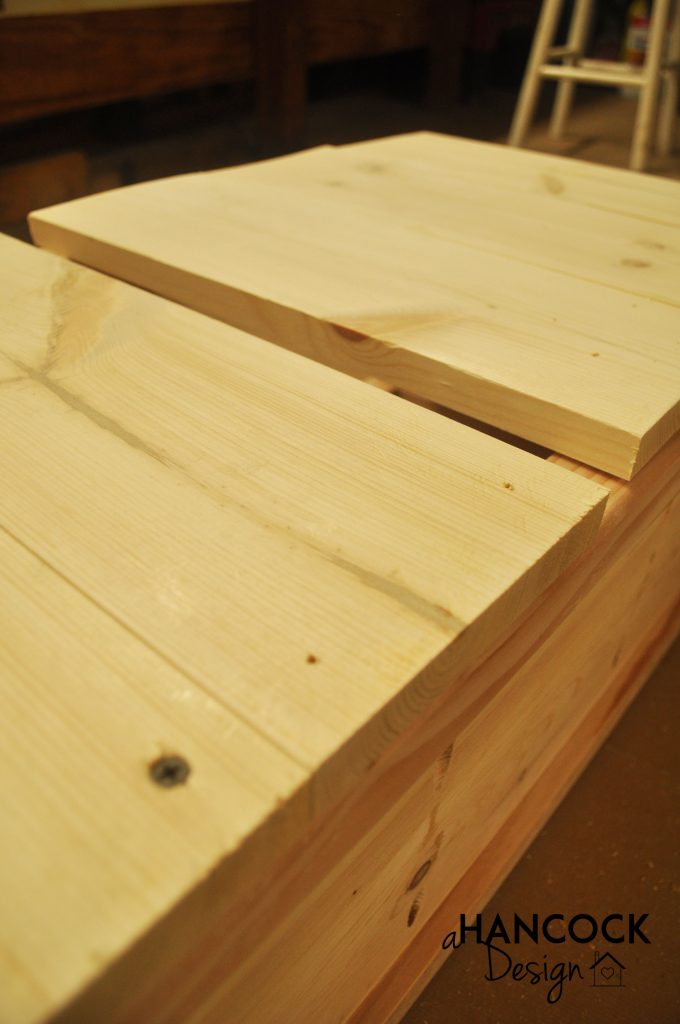
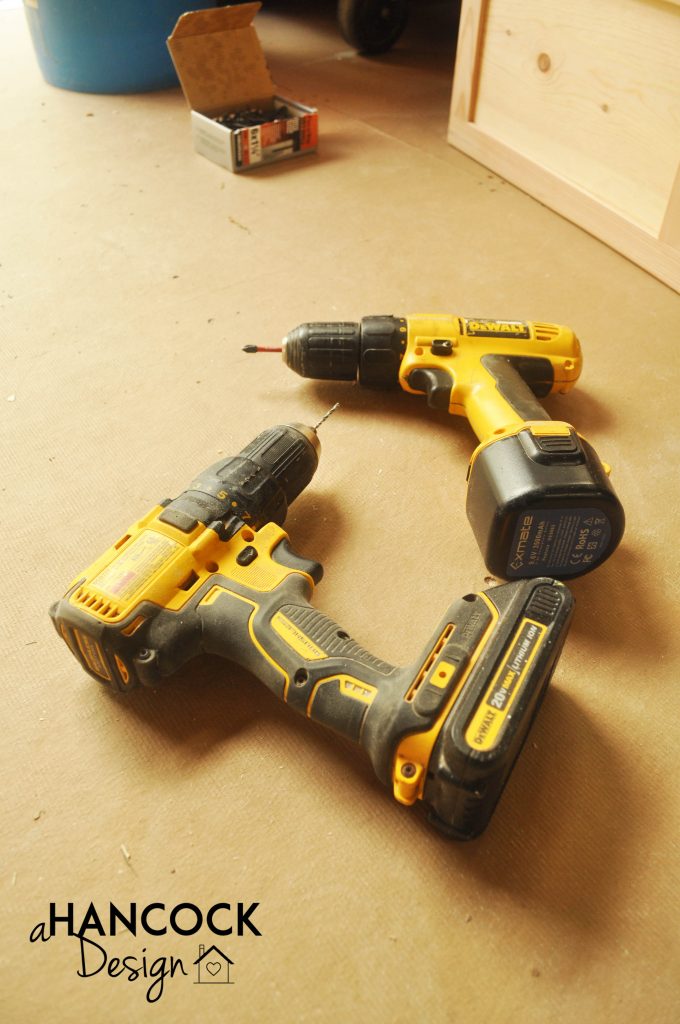
I put the backing on by just screwing straight through the 1×6 pieces into the back of the foot board, since nobody will ever see the back anyway. Luckily, I had access to two drills so I didn’t have to incessantly switch between a drill bit and screwdriver bit! (Thanks, Dad.)
Yay! It’s so pretty.
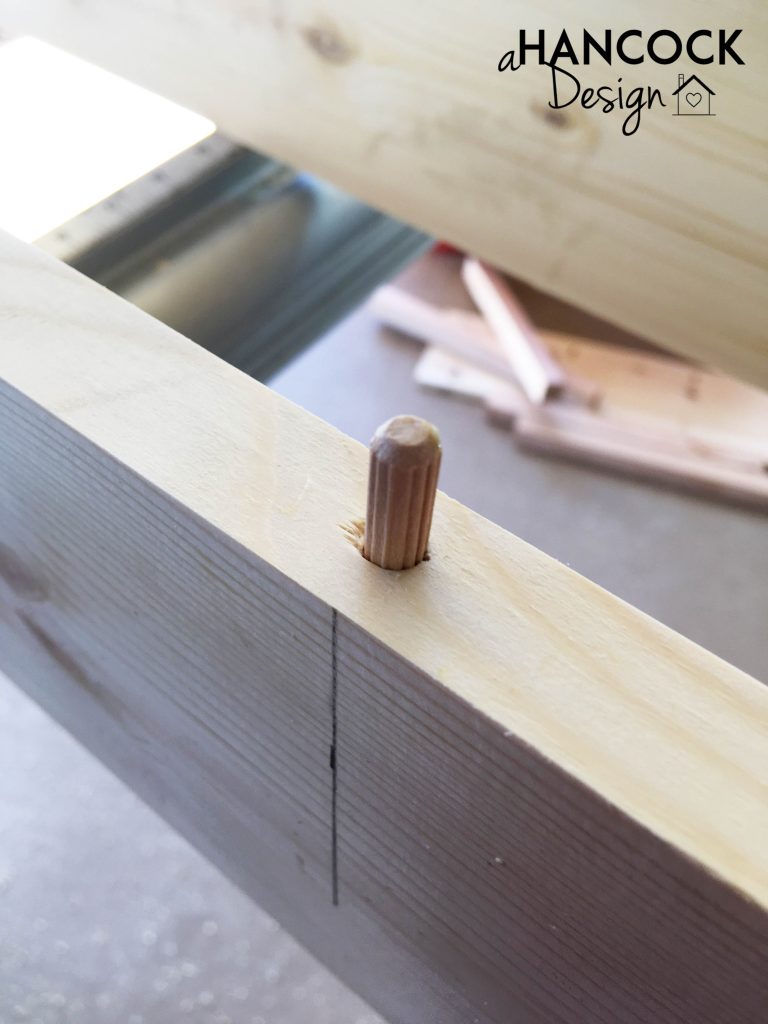
I forgot my camera the next time I went to the shop so I only have a few phone pictures, but I used two 1×6 boards to make the top surface of the foot board and I joined them together using a dowel jointer.
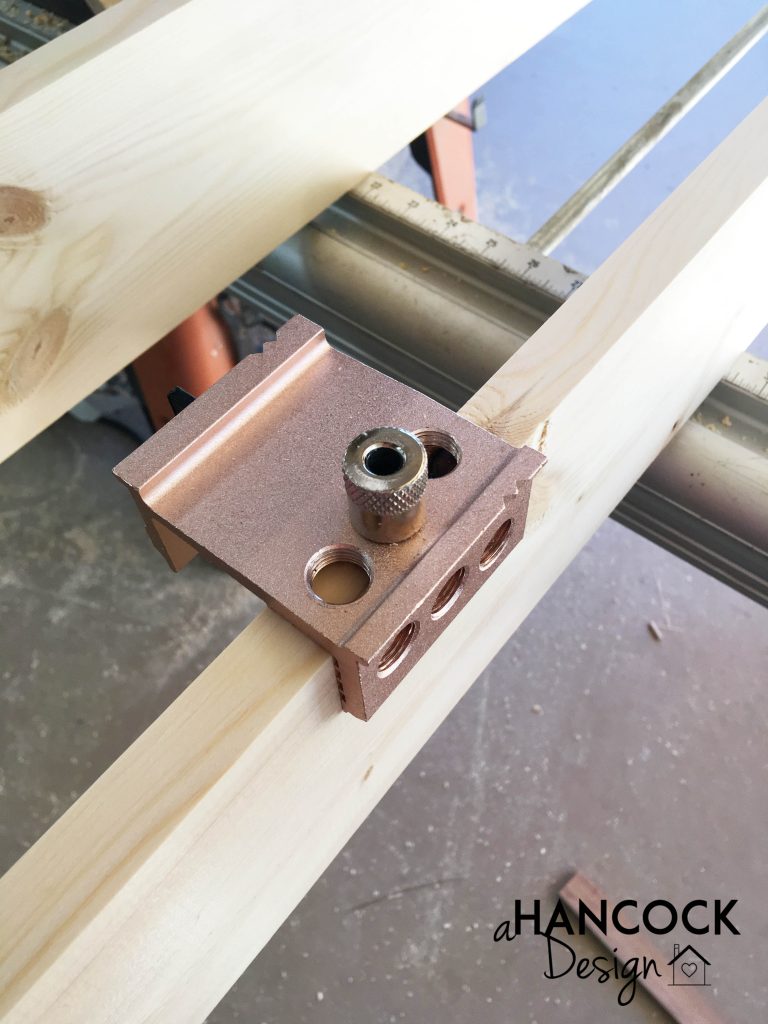
I’d never used any kind of jointer before but it was pretty easy. The pink colored jig clamps on to your wood and then there are several different bit guide sizes (the shiny cylinder) and six different holes to screw the bit guide into depending on the depth of your wood.
You line the boards up that are going to be joined and draw a line across both of them to make sure the dowel holes go in the same place in each board. I didn’t get a picture, but I wrapped a piece of blue painter’s tape around the drill bit so I would know how deep to drill the hole. I tried to drill them to the depth of exactly half the length of the dowel, but erred on the side of being slightly too deep, because a hole too shallow would result in the joinery not being flush.
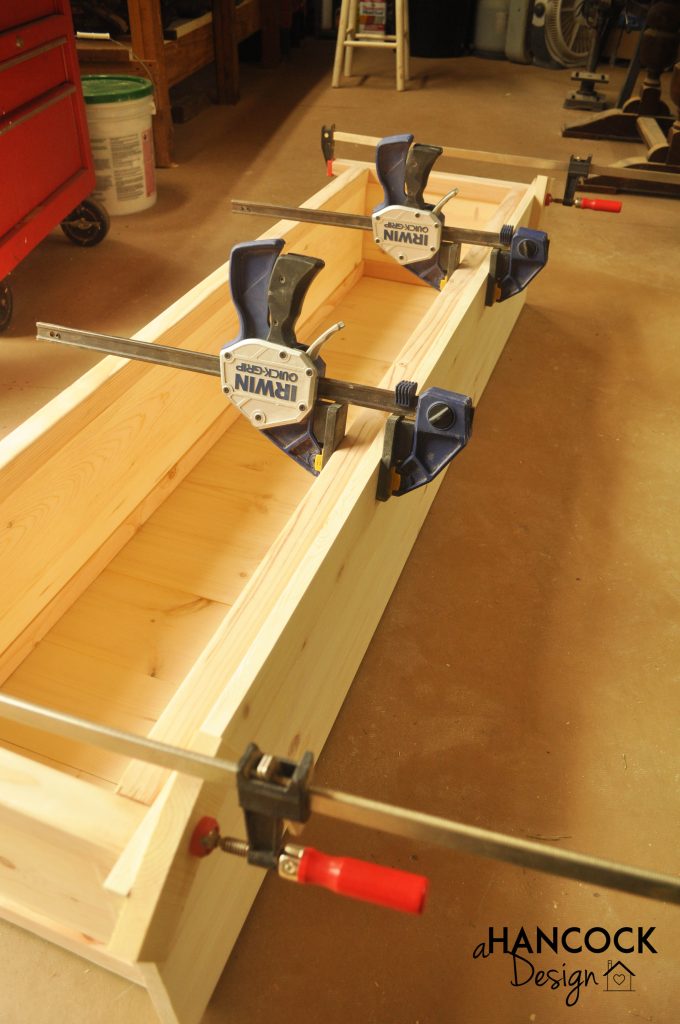
After the holes are drilled, pop the dowels in with a dab of glue on either side and clamp it together!
I let the boards dry in the clamps overnight and then went back the next day to sand it smooth. Glue, clamps, and more screws to the underside of the top shelf and…
…as the three year old would say with his arms stretched wide, “Ta-ta!”
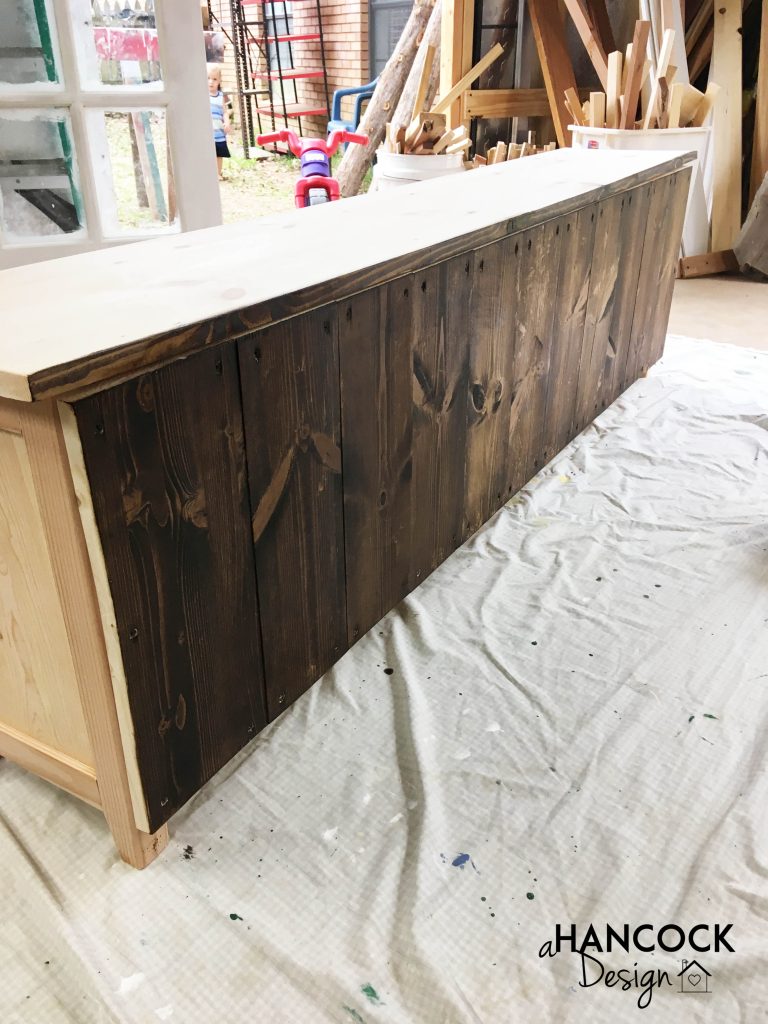
I was out of time to work on it that day but really wanted to see what the stain color would look like. I decided to start with the back of the shelf because if I didn’t like it, either I could replace that wood easily or it wouldn’t matter because we wouldn’t see it unless the bed frame was disassembled.
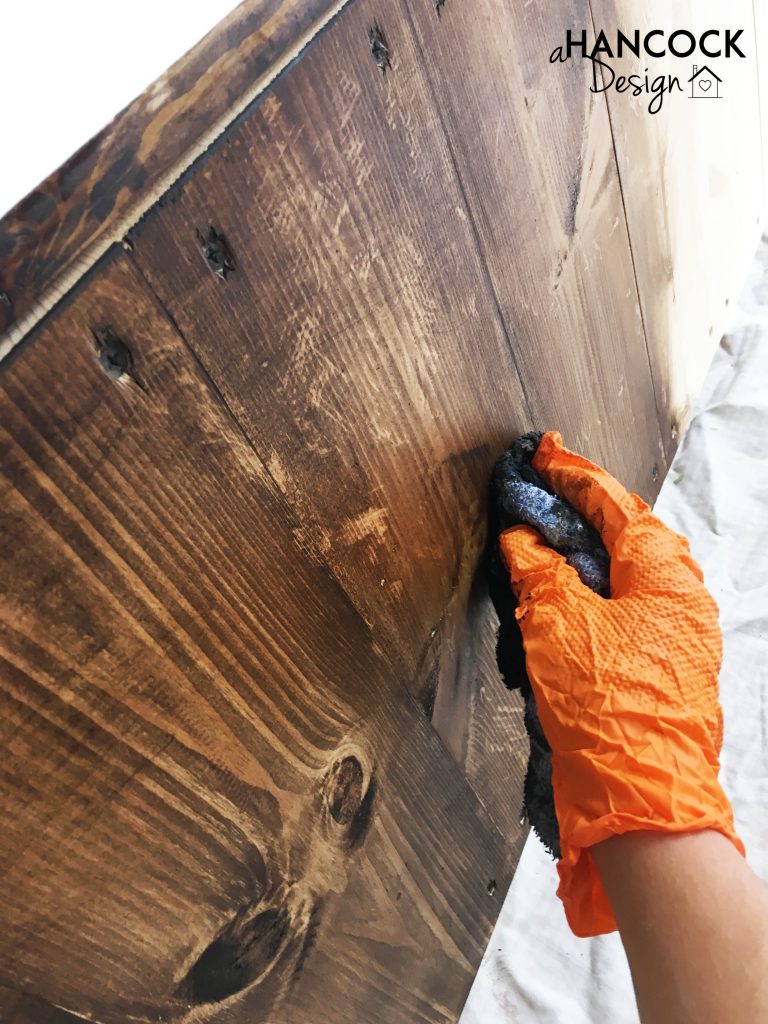
I rubbed the stain on with an old rag instead of with a paint brush and I really like how it turned out. Also I really really like that stain color!
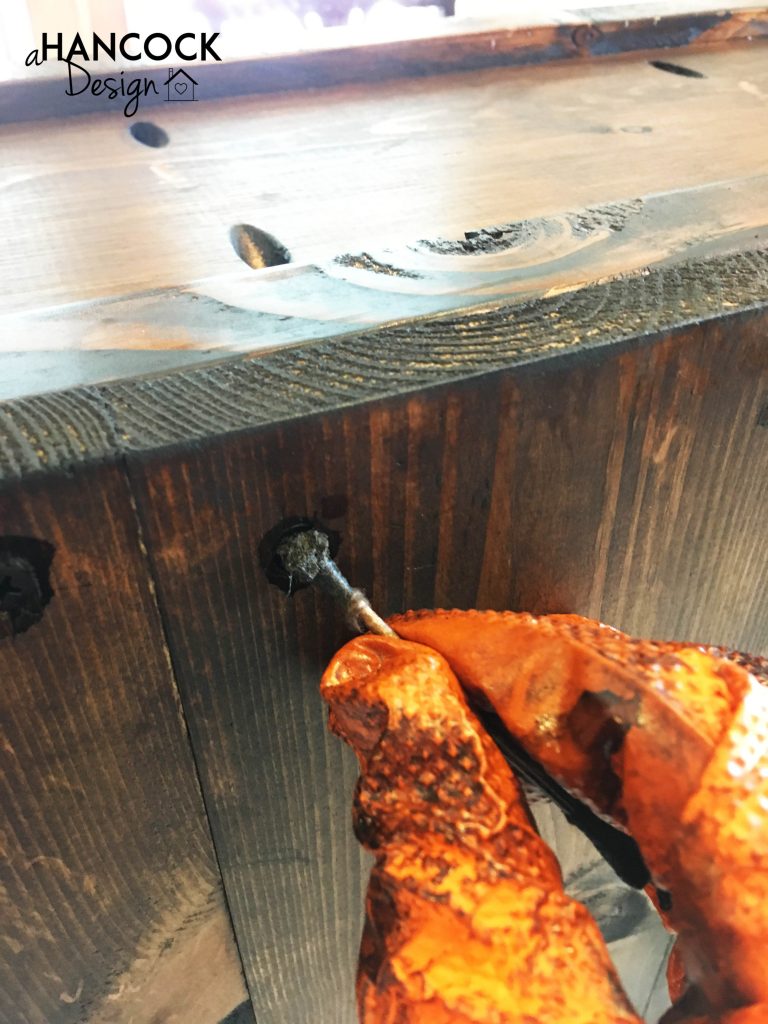
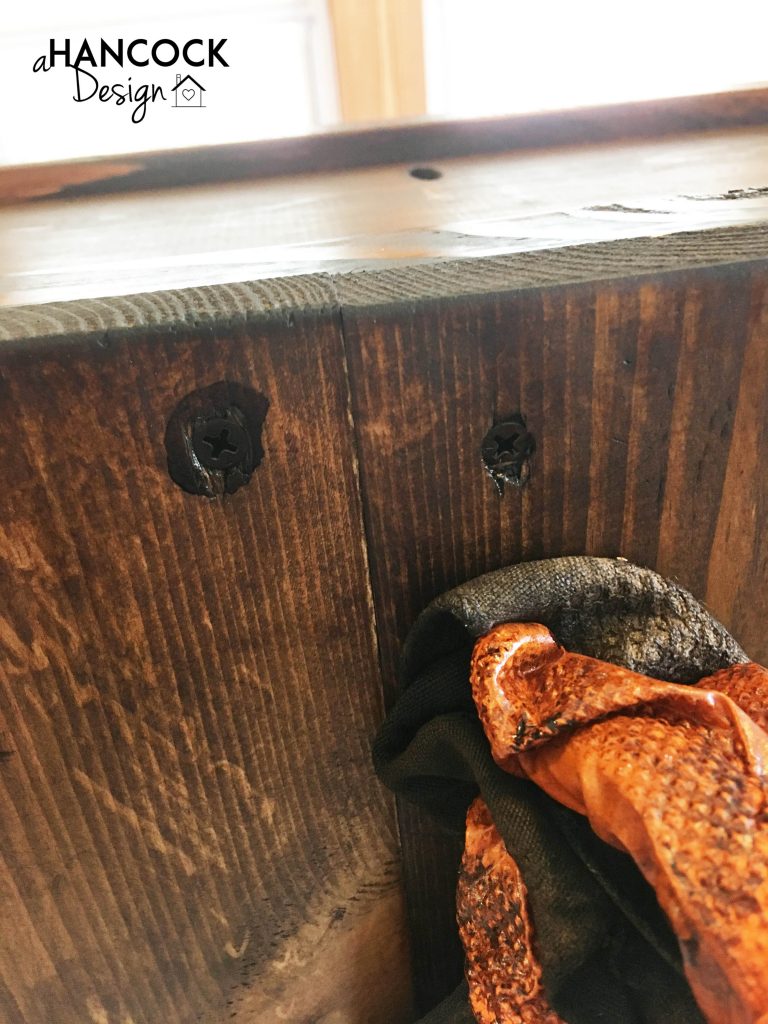
I took it home and finished staining it on top of our game table (which was my first furniture build and is kinda rough) which I protected with a cheap clear plastic table cover. The rag wasn’t getting stain into the screw holes so I grabbed a couple of Q-Tips. There were a lot of screw holes to practice on in the backing boards, and I developed a system of saturating the Q-Tip in stain and smooshing it all around in the hole (very technical term, I know) and then using the rag to wipe the excess back off.
The top of the foot board was curved up a little at the back, so I got the clamps back out and spread glue in the crevice with a butter knife and clamped it very tightly.
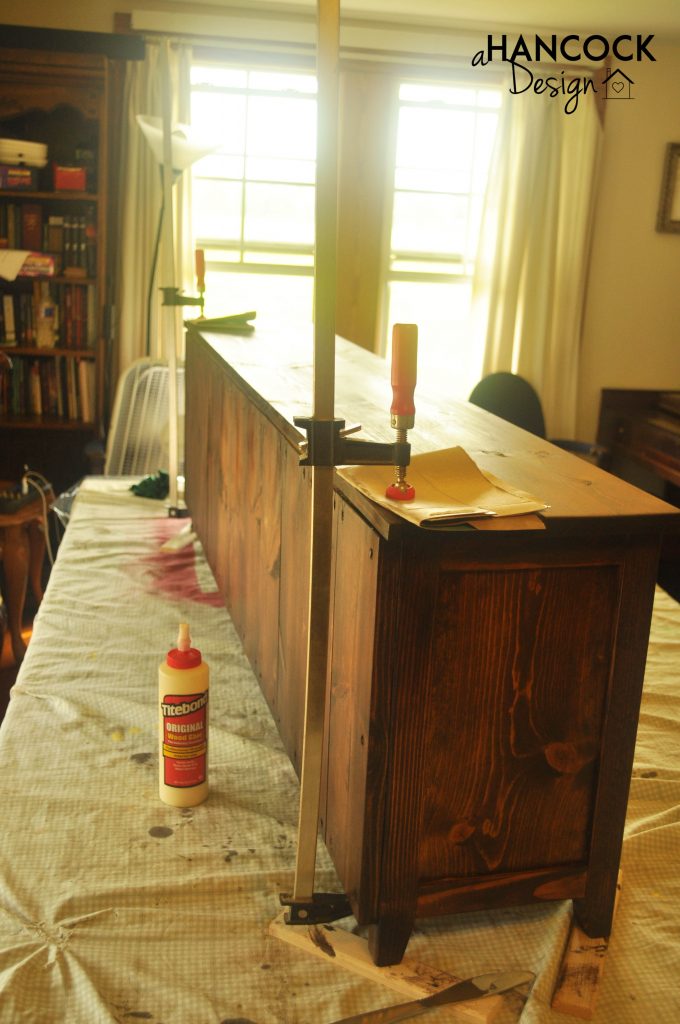
I put on two coats of stain and then sprayed two coats of a polyurethane on top. The stain is Espresso from Minwax and I just used a spray polyurethane I already had which was a gloss from Varathane that I got at Home Depot for another project.
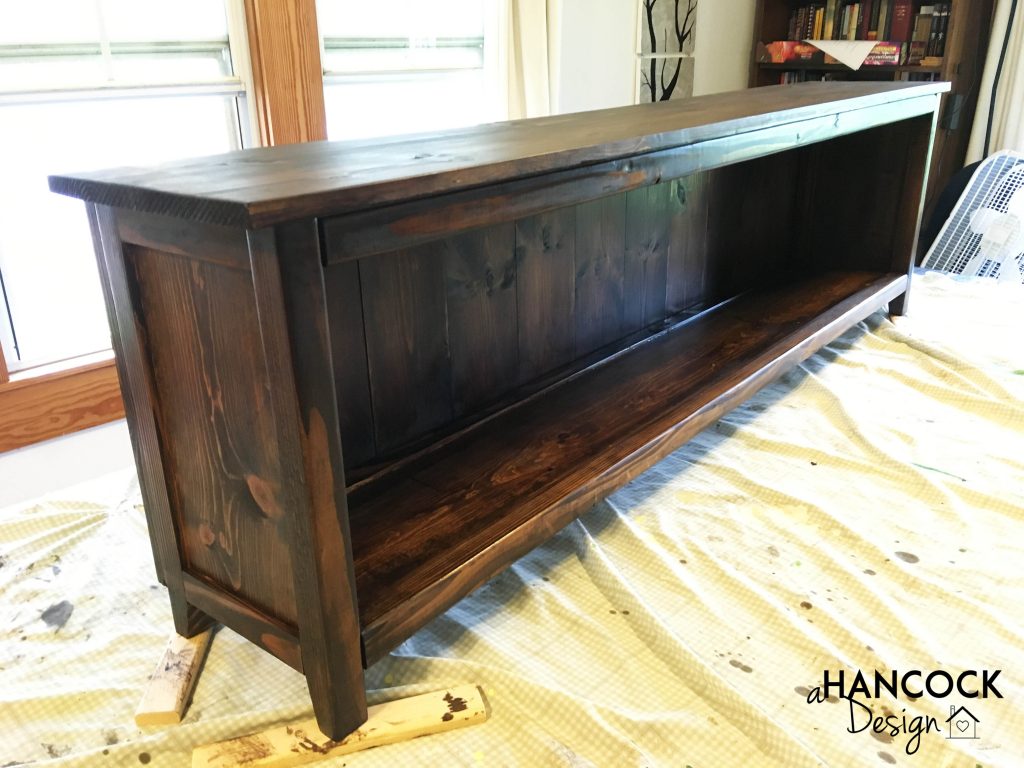
After letting the fumes wear off for three or four days (in our game room with all the windows open but the door to the rest of the house closed) we finally moved the foot board to its new home! It looks great in there (the plastic bins supporting our bed not to much) and I’m really happy with how it turned out!
